
I was so excited a year ago when my daughter inherited my sister-in-laws childhood dollhouse. It was built by her father and had been tucked away in their basement. So when she reached out to ask if it was something we would enjoy I didn’t hesitate for a second. When I was a girl I had a Barbie Dream House. It was big, plastic, and pink. One of my girlfriends had a traditional dollhouse and I always admired its character. So I could think of nothing better than to inherit a REAL dollhouse! So I guess this was a gift for my daughter, but as you can see, I was THRILLED to inherit it too.
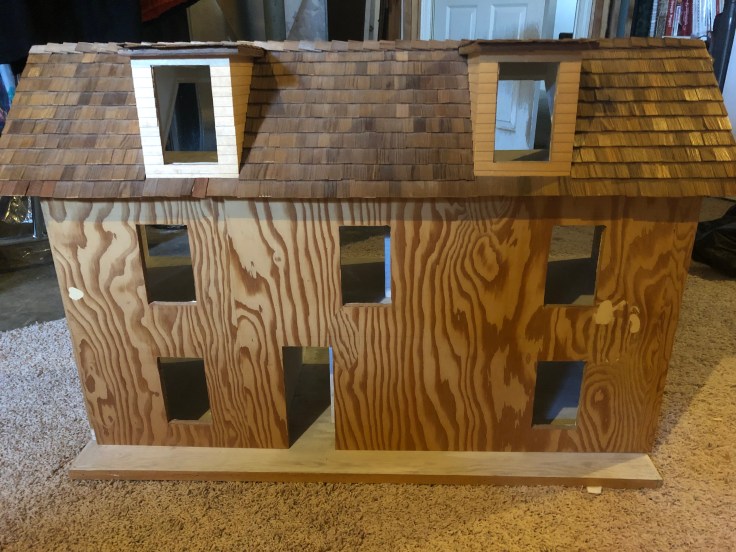
The home has great bones. But needed some love. So we put the house in the basement for the opportunity for me to rehab it. Well, nearly a year had passed and I had not started the project. Plus the kids found it and started playing with it in its current condition. So the project was on hold. Until now…
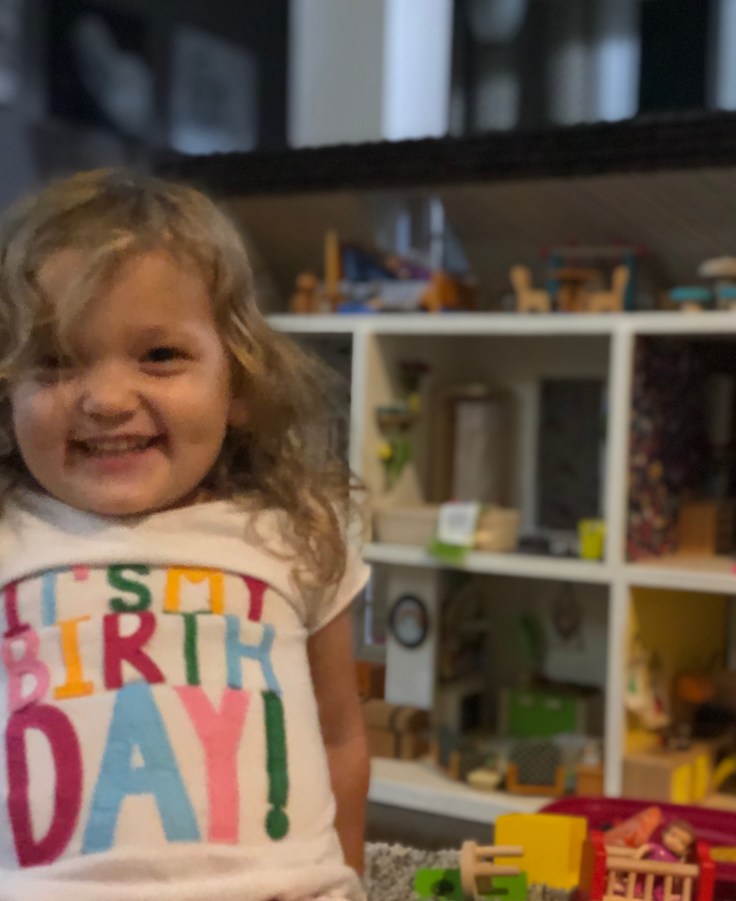
I have 3 months until my daughters third birthday. So I decided I would rehab the house as a birthday gift. Here is what I did.
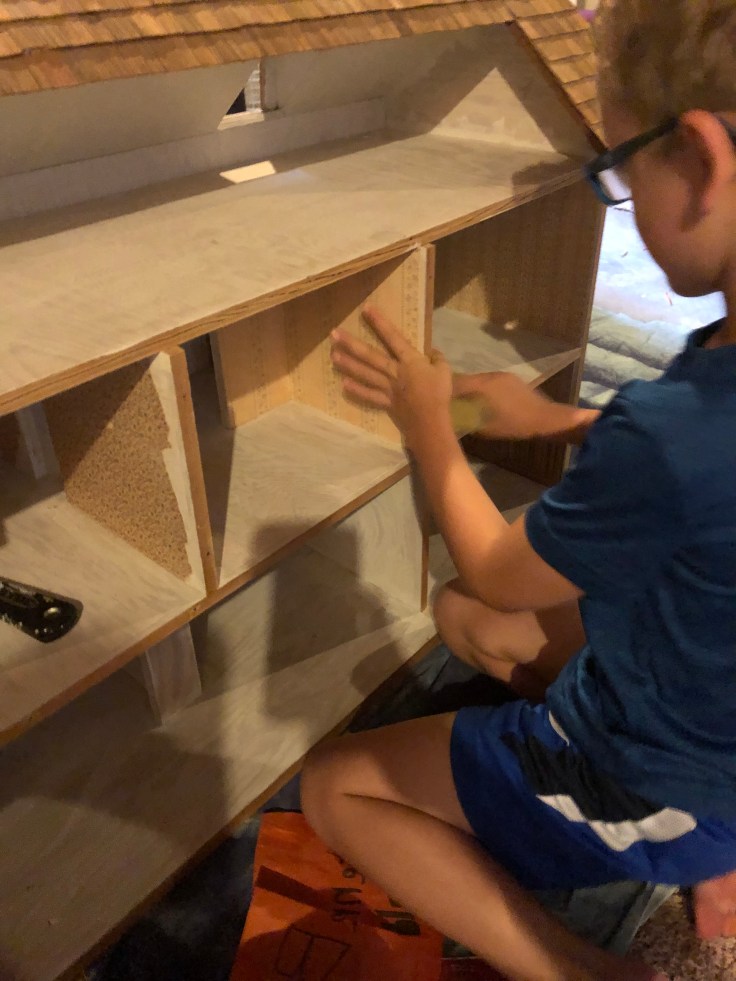
First I emptied the house and hid the house and contents so my Daughter would be surprised on her birthday. Then my son and I started the rehab during my daughter’s naps.
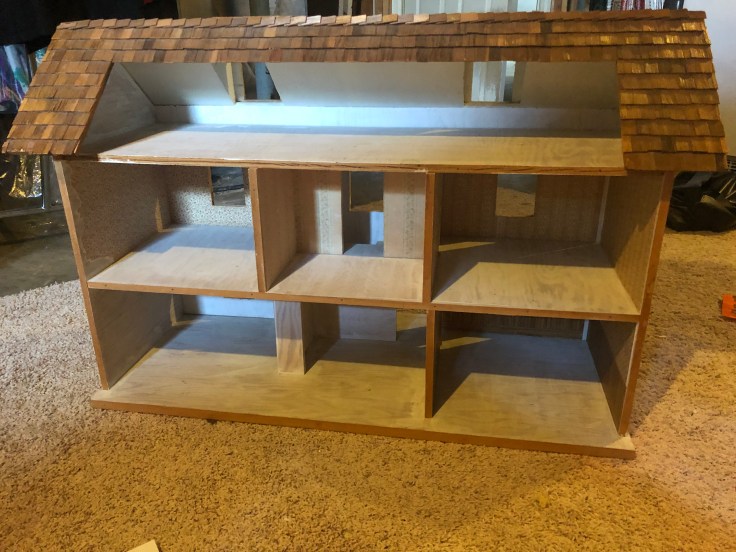
Step 1: We filled the wood imperfections with wood filler.
Then we sanded the entire house, brushed the wallpaper with water the scraped it off. My son was a great help at this task.
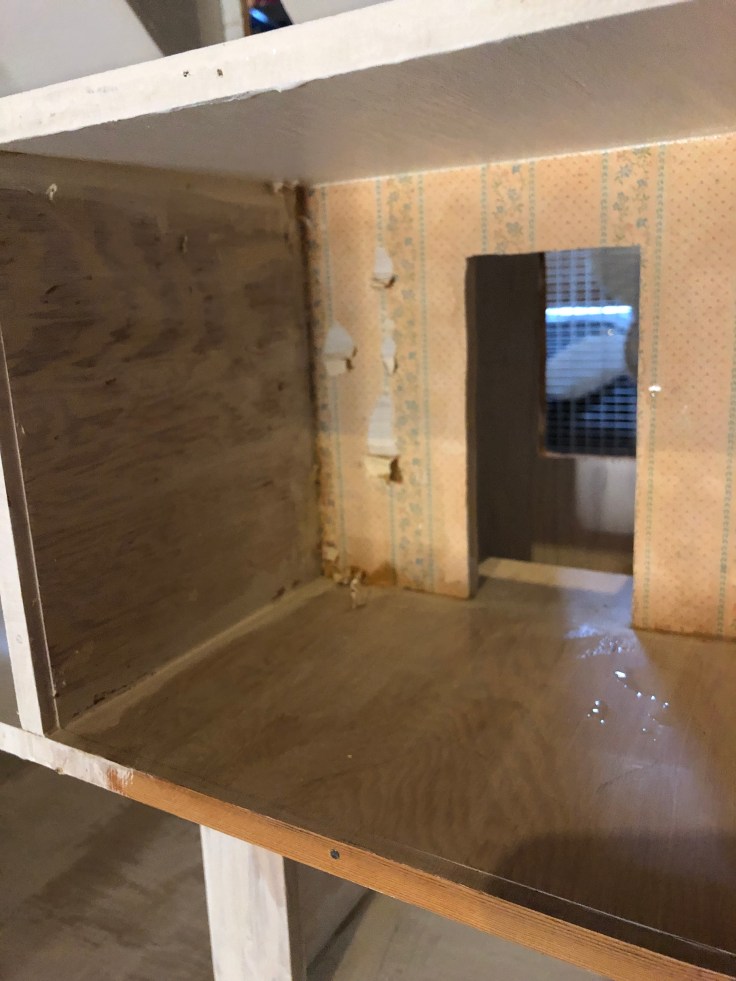
After the walls were clean and clear, I used a cheap primer all over the exterior and interior of the house. During the process I ended up removing the front of the house for easier access. When I removed the front, I found charming stairs at the front of the house. It’s such a pity you can’t enjoy them from the play side.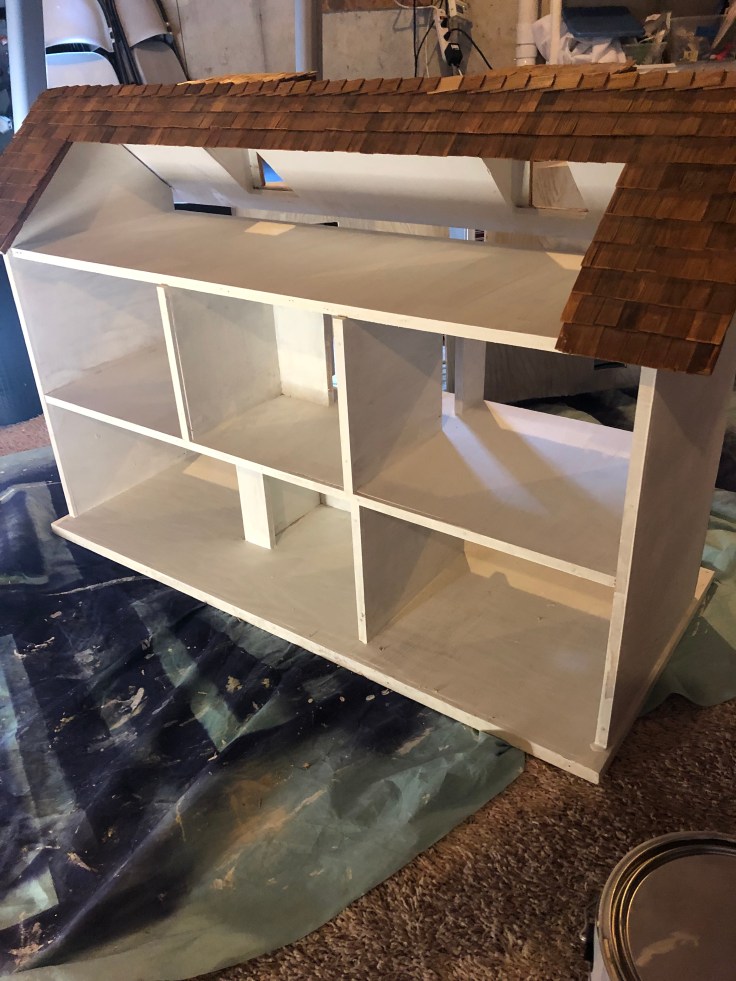
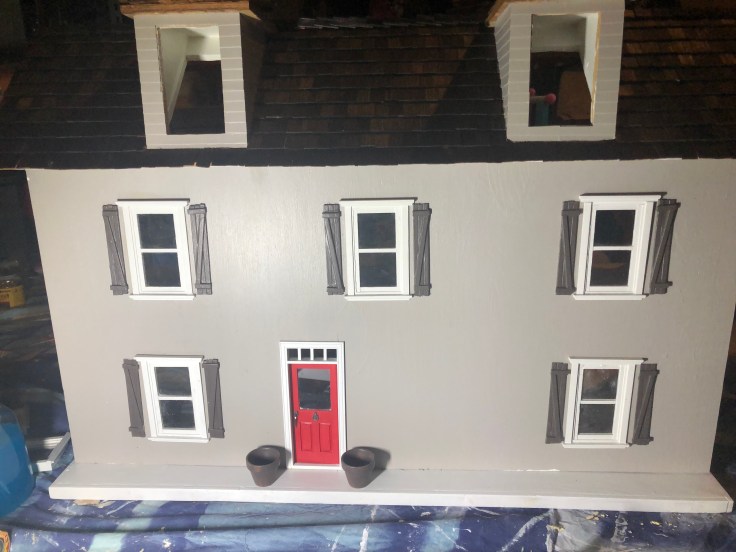
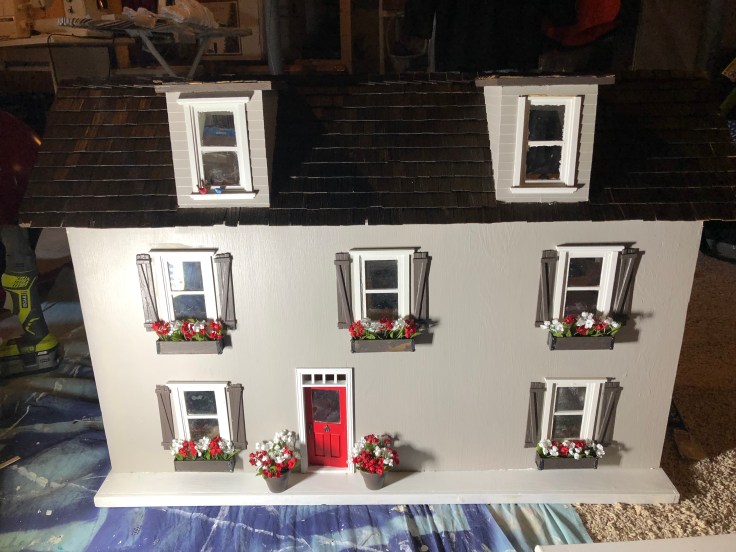
Next I stained the roof a dark walnut color and painted the exterior walls a light gray. I am undecided if the exterior color is dark enough. I think I need to see it next to the trim color before I decide.

I continued with the exterior by priming and painting the window trim. I had two different kinds of Windows. With one set the glass would slide out and the other it would not. I highly recommend the design that allows for sliding the glass out. It allowed for MUCH less prep and faster painting. And the ultimate result is cleaner.


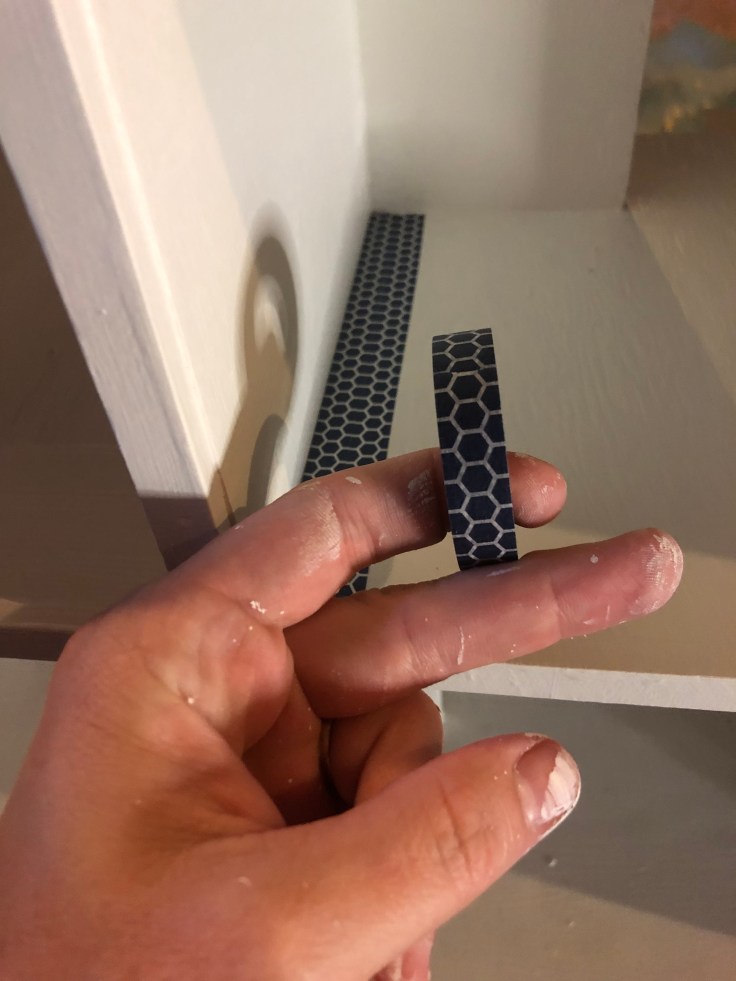
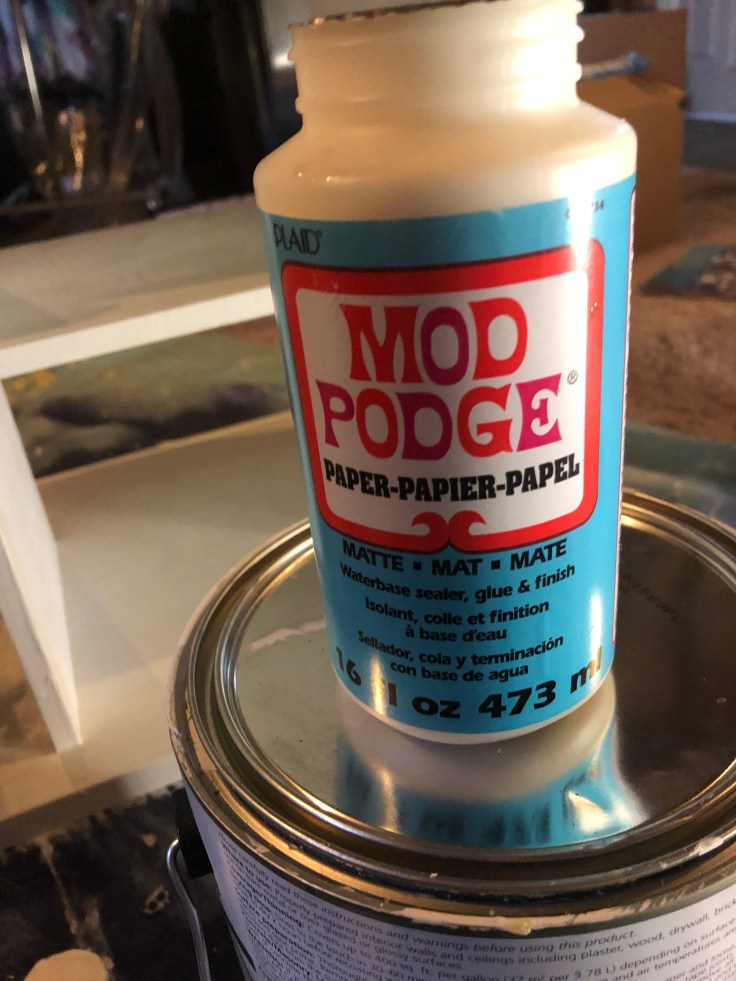
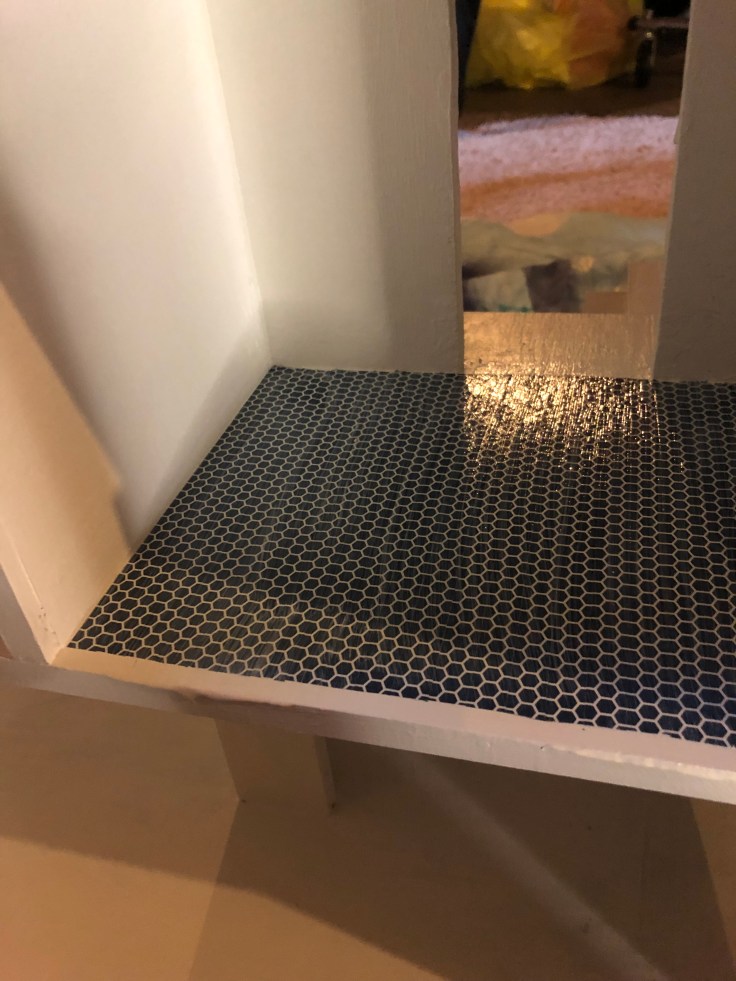
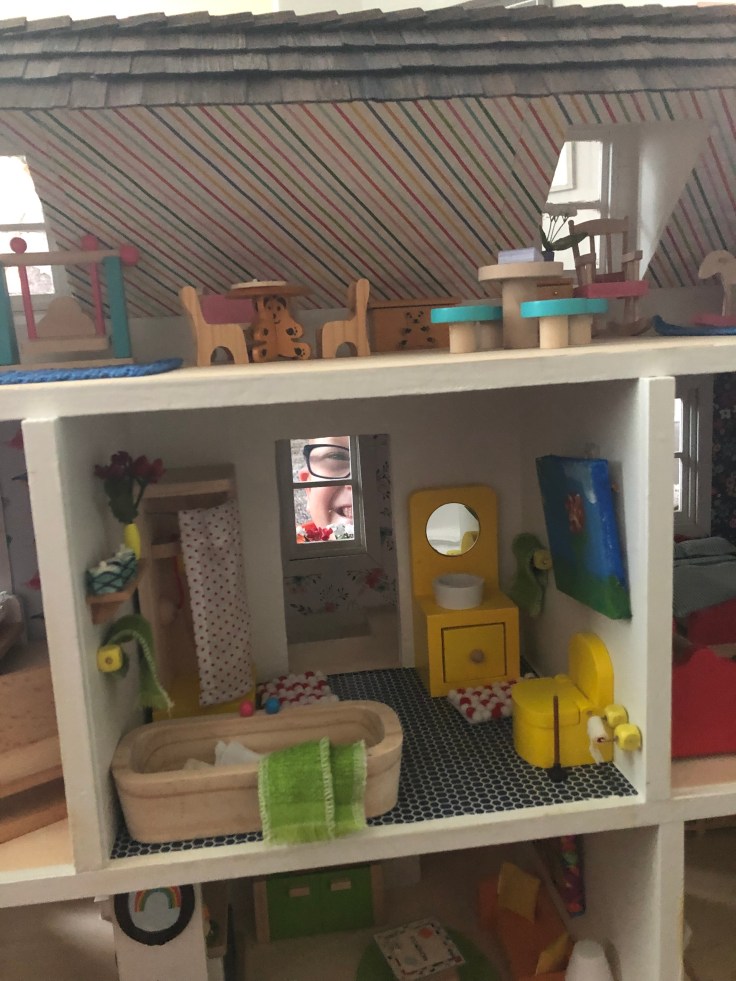
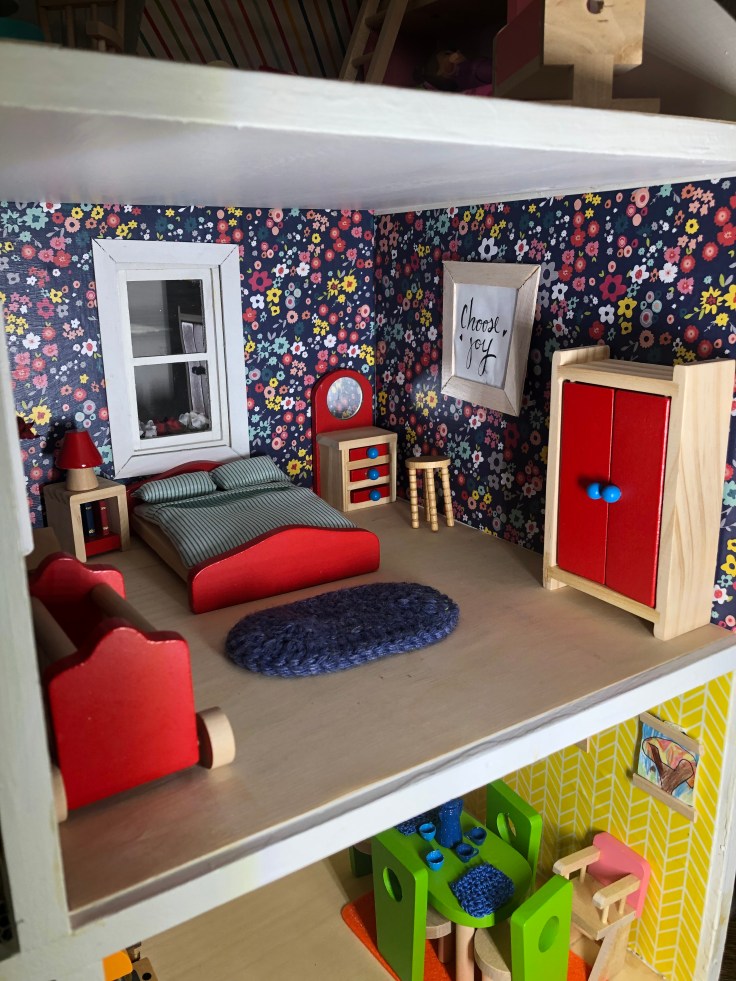
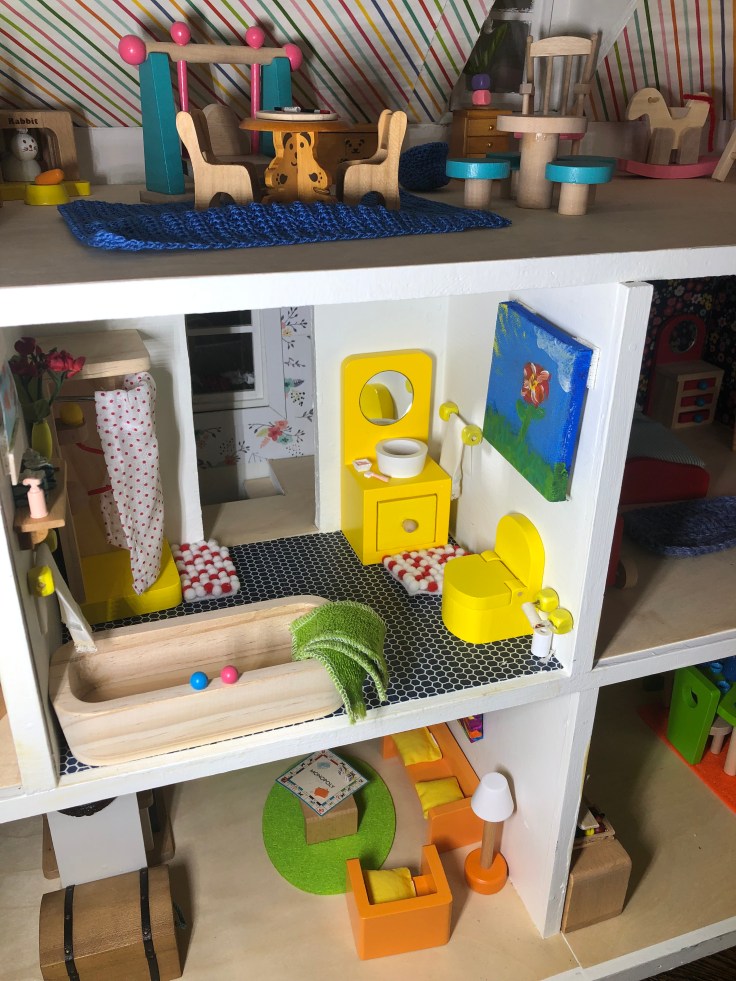
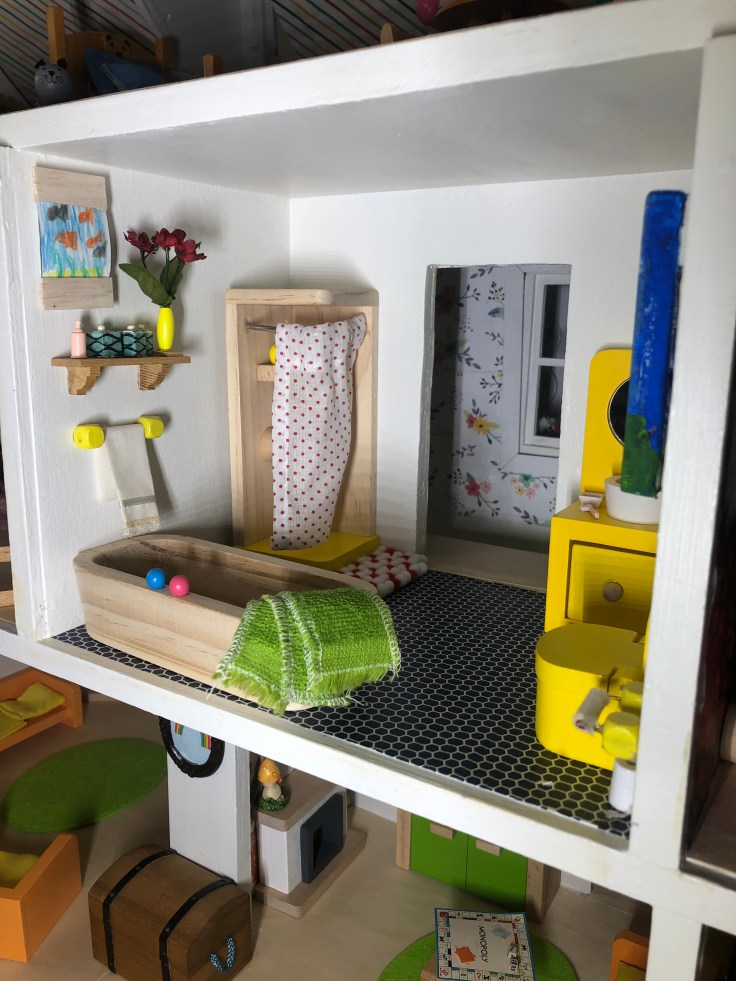
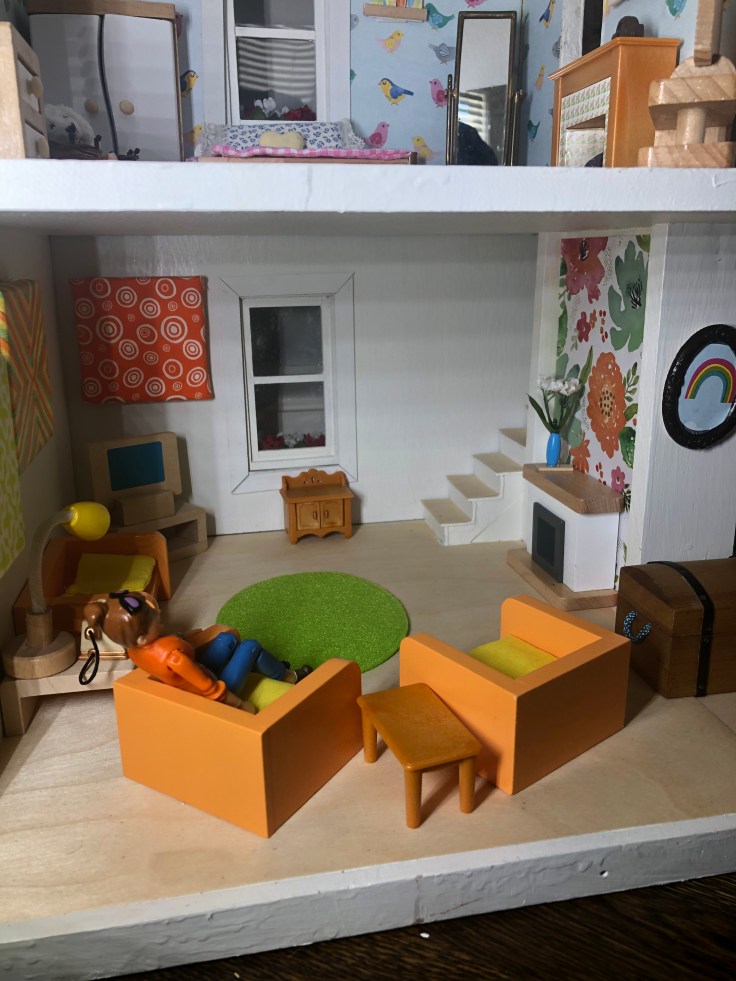
I found washi tape at Micheals with a hexagon shaped pattern. It reminded me of tile. So taped it to the bathroom floor and used Mod Podge for a glossy overlay to create a tile floor. This was super easy!!

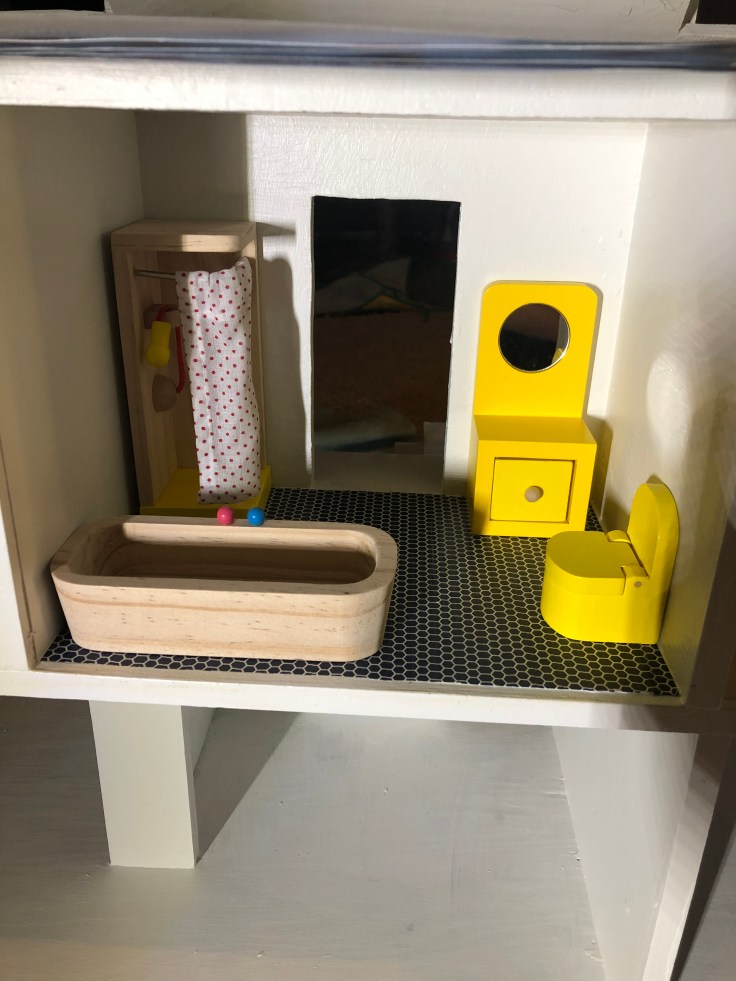
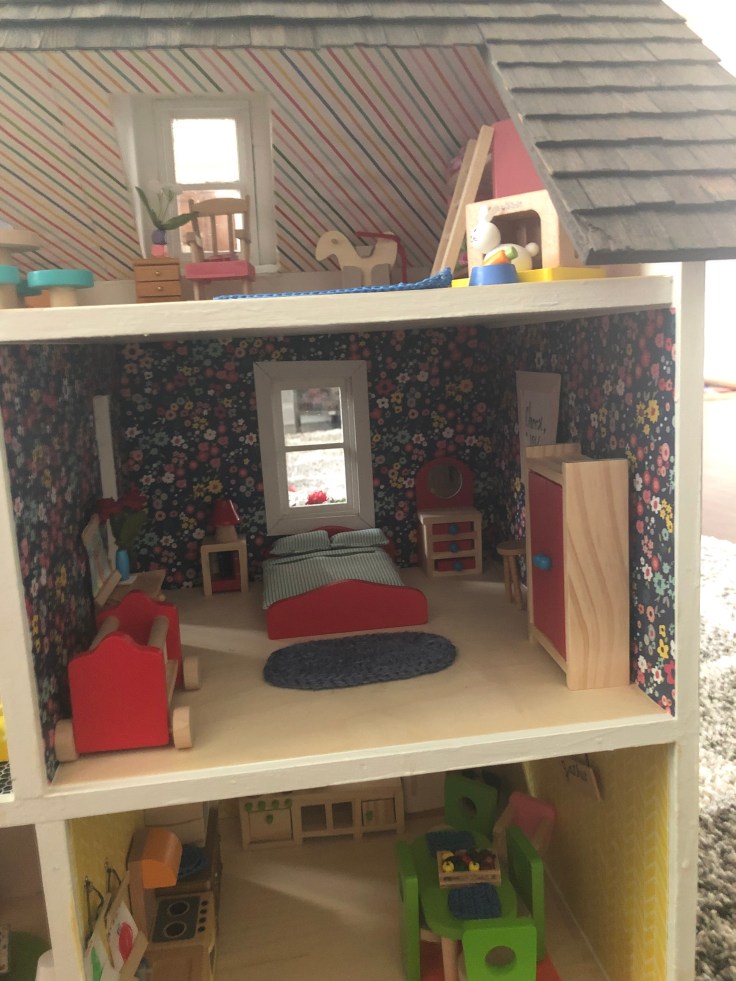
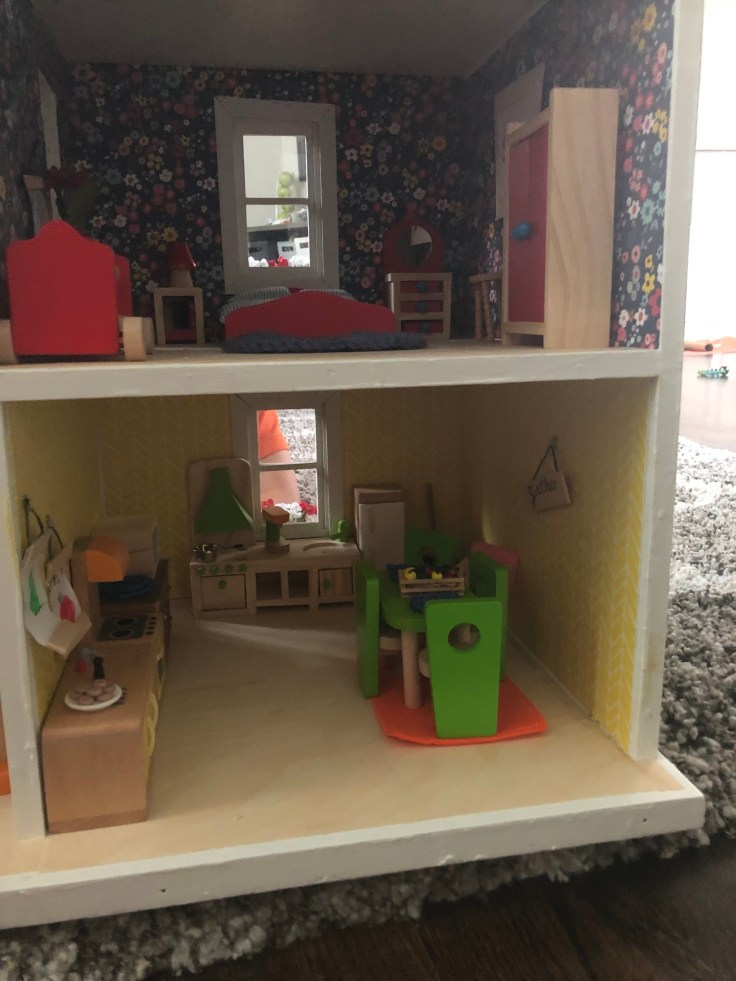
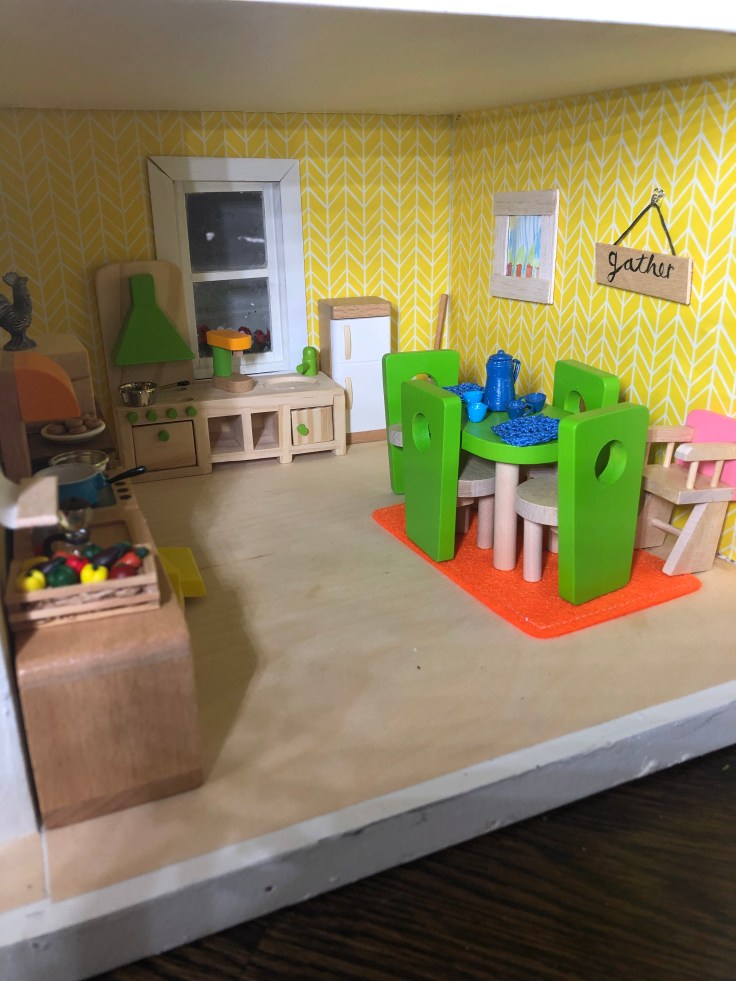
After it dried I moved in the bathroom fixtures. All of my dollhouse furniture was purchased from Amazon. I bought furniture that could withstand use by my 2 year old daughter. This room needs some decor!!! But I’m saving that for last. Also, I’m still debating if I need a door. Clearly Bathrooms usually have doors. But without it, it might make play easier. So I’m going to think on that….
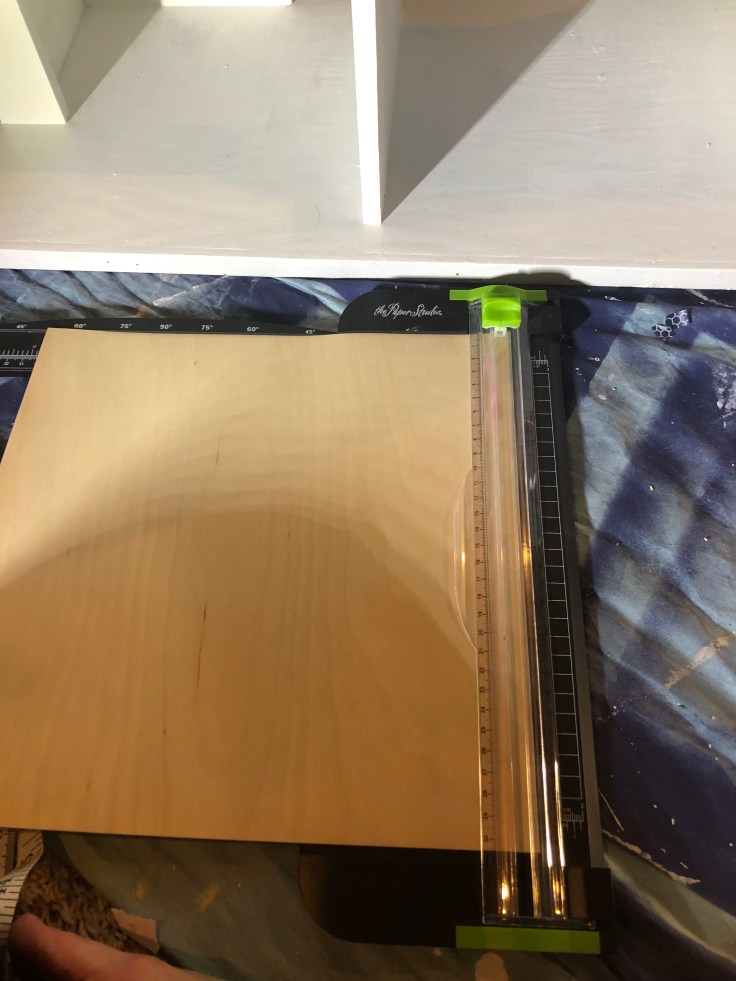
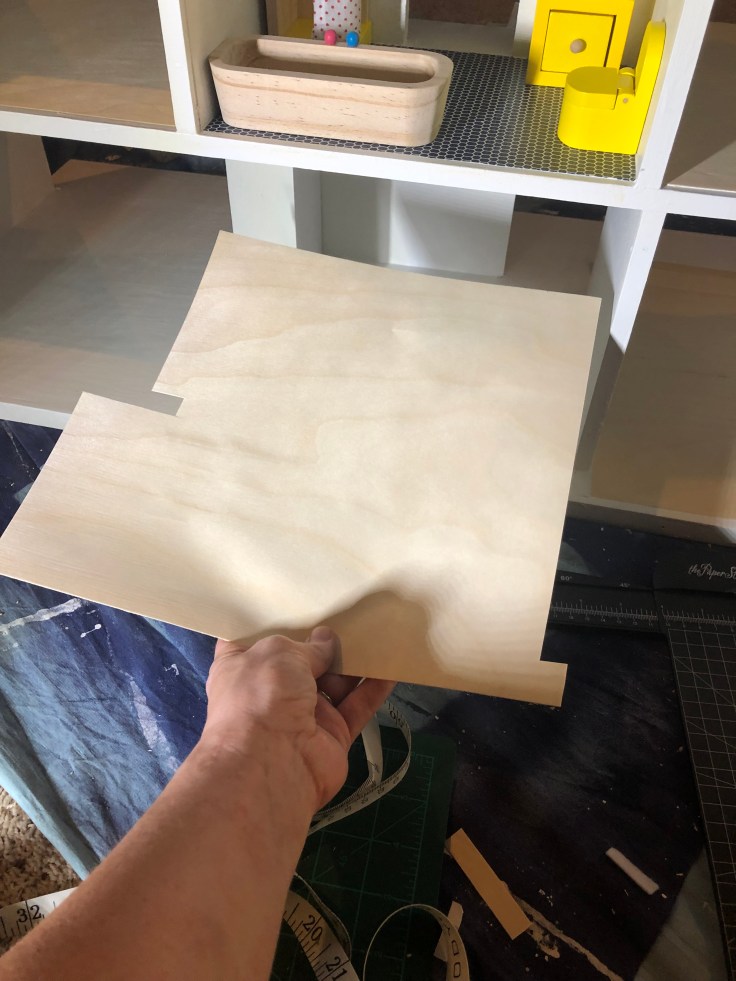
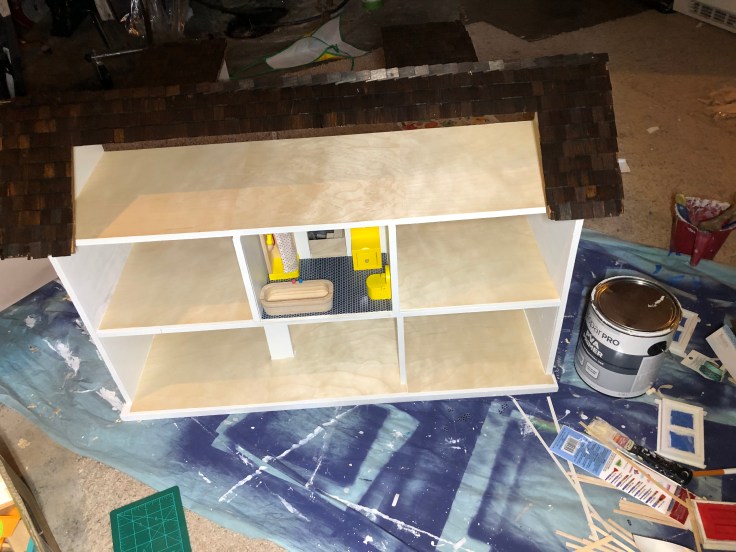
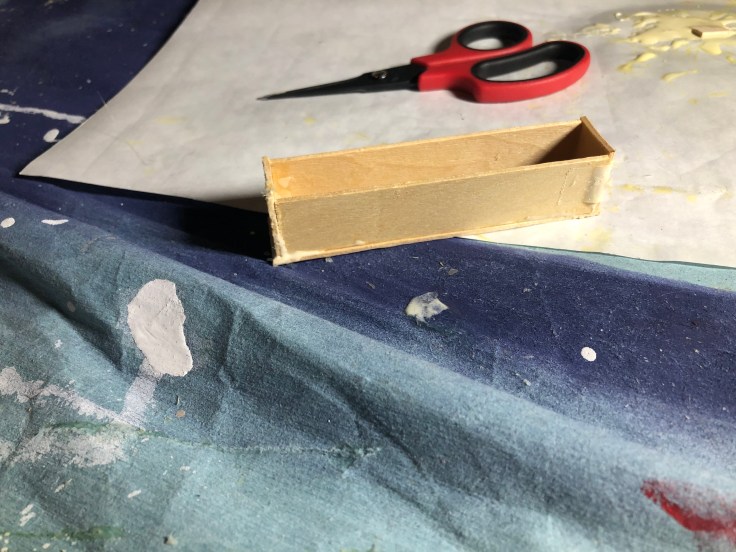
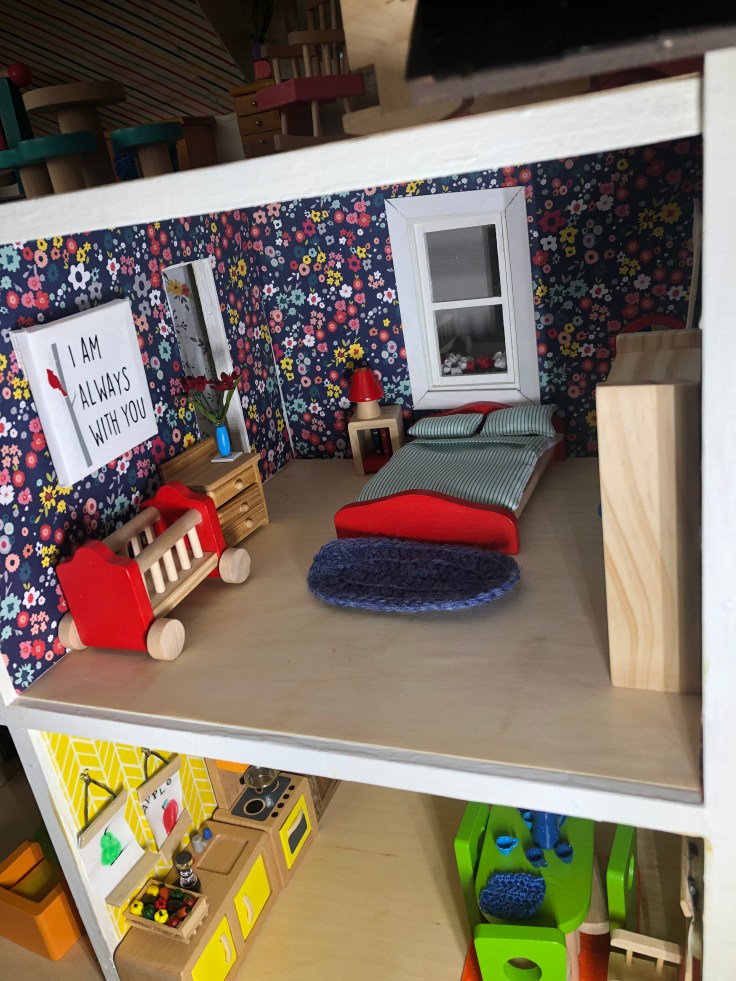
Then I installed the wood floor. I used adhesive Birch wood sheets by Artful Inspirations. They were amazing. Easy to cut, easy to install, and I like the look. I used my paper cutter to cut them. It made clean sharp corners! I also purchased these from Amazon.


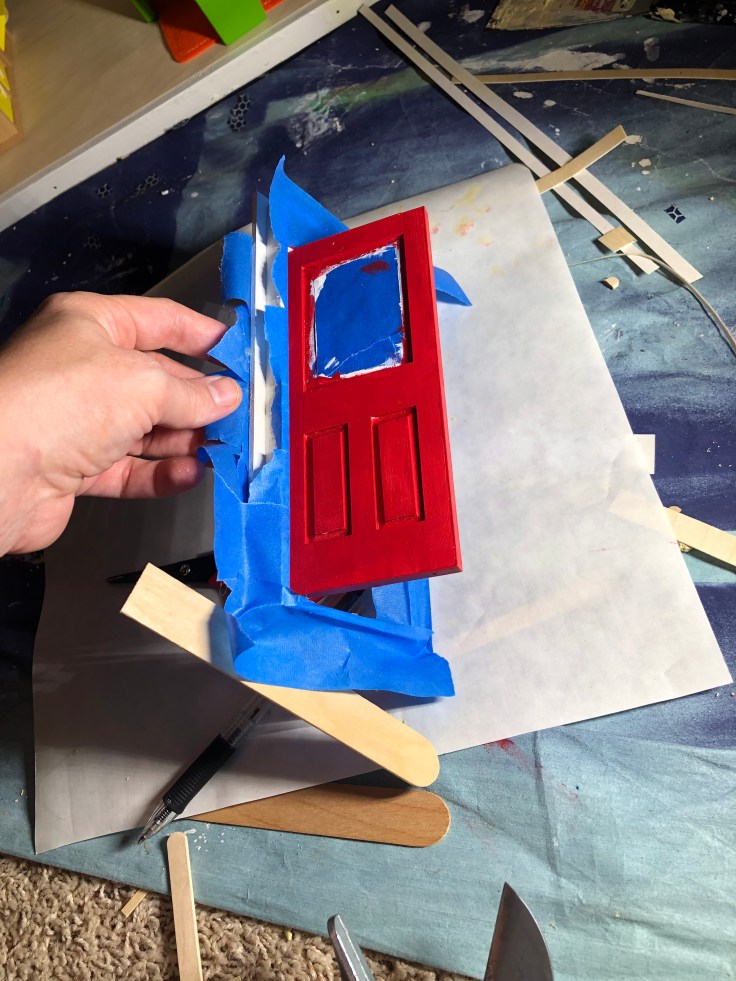
Now I shifted back to the exterior. I think I am enjoying this project so much because I never get bored! I bounce around to all sorts of different tasks! First, a pop of red paint on the door and then window installation. I am not super happy with this door. It is intended to be an interior door. But all the pre-made front doors were too big. And I can’t extend the size of my door because if the stairs. So I am going to dress the door into a front door.
The window installation was a bit tricky. After all the paint my windows didn’t fit in the holes. So I sanded them down first. Then glue, dry, clean, and Voila!


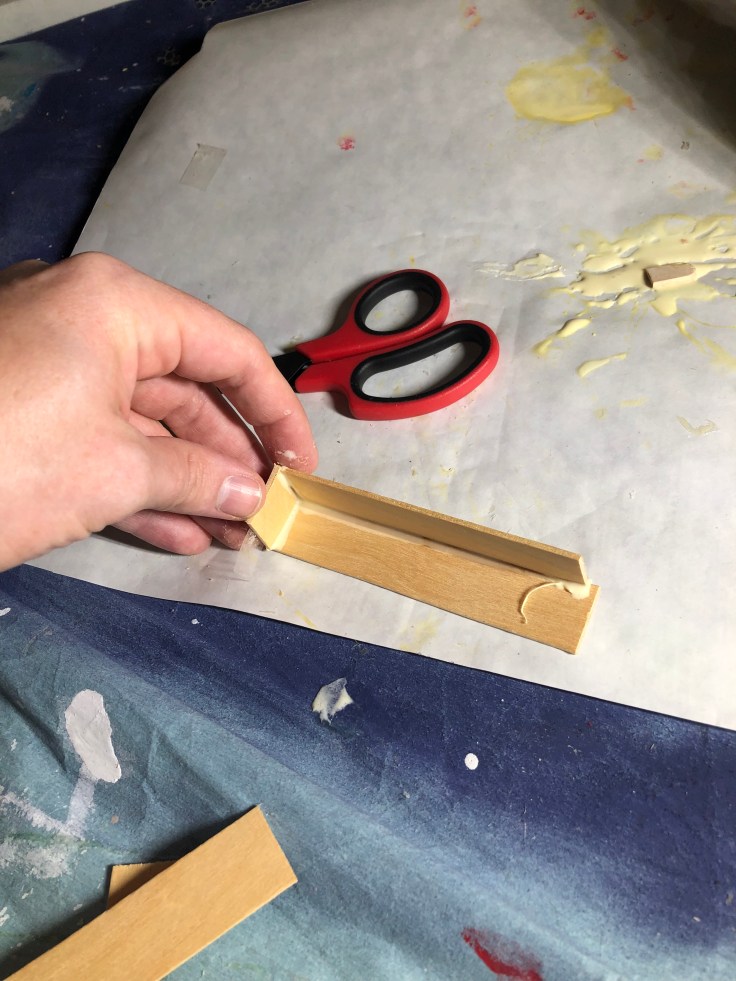
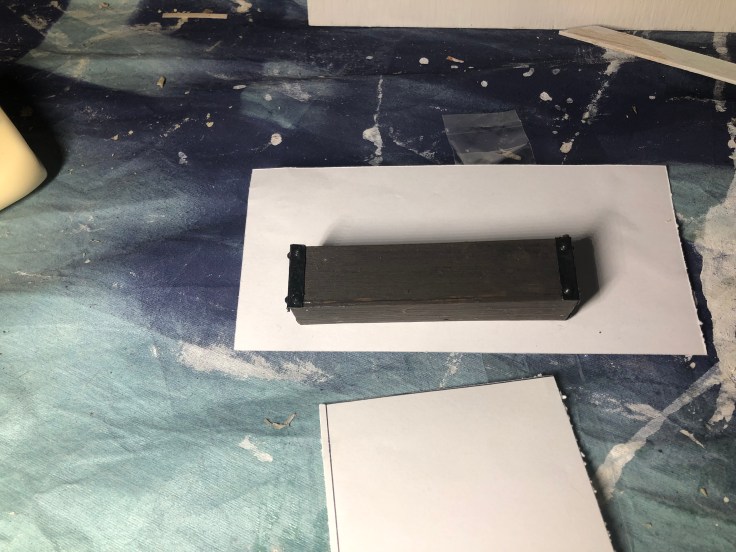
The next task was a bit more difficult!! I made shutters out of coffee stirs. For the shutters, I bought these handy scissors. They were great to make specific angled cuts. Once I got the shutters glued together I put wax paper over them and pressed them between heavy books to keep them flat and allow them to dr. After they dried I painted them black and glued them to the house.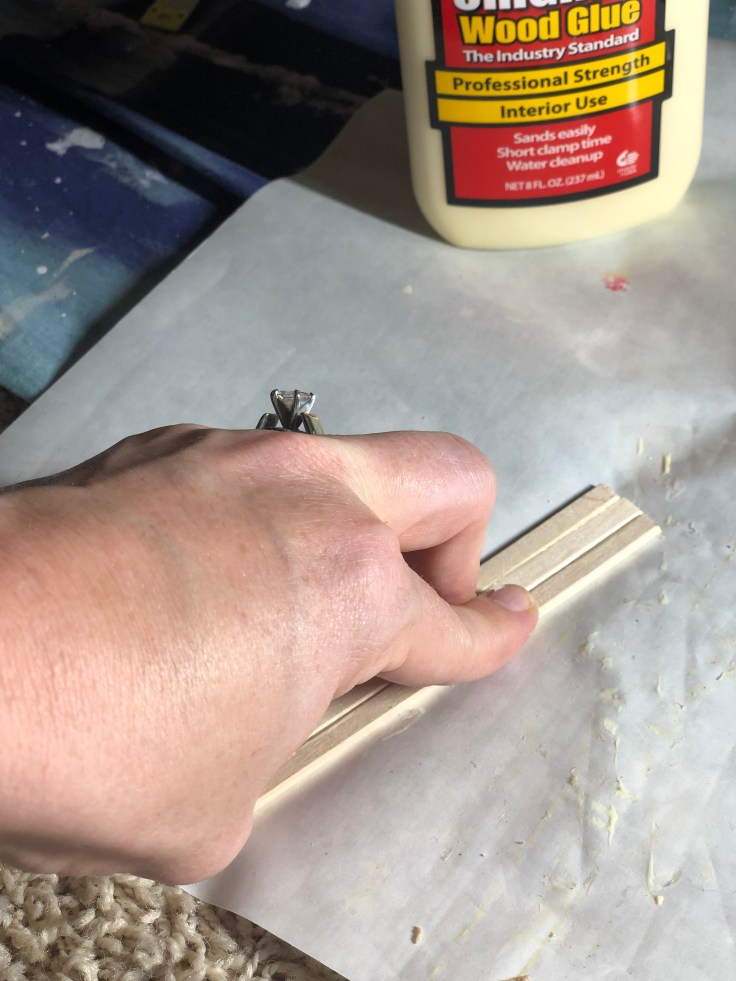
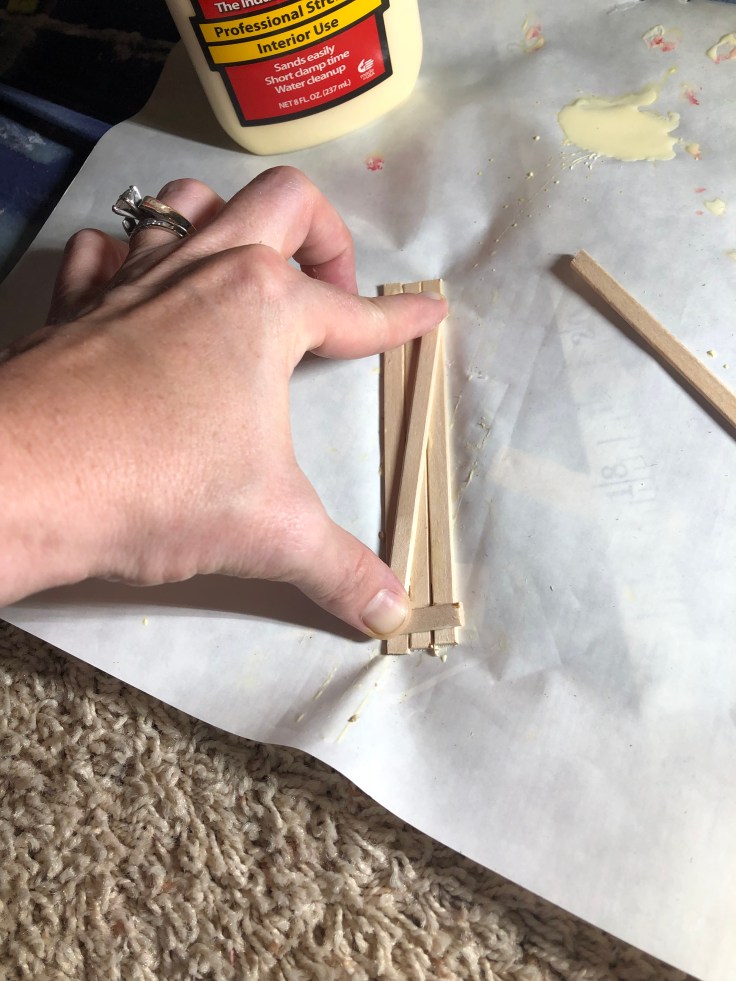
 Now I built flower boxes. I desperately wanted flower boxes because I feel my house needs some curb appeal. I had tongue depressors I planned to use. But to say this task was a nightmare is an understatement. I don’t know how many times they fell apart. It was painful but I was determined. I used a TON of wood glue and let them dry an entire week to given them the best chance at survival.
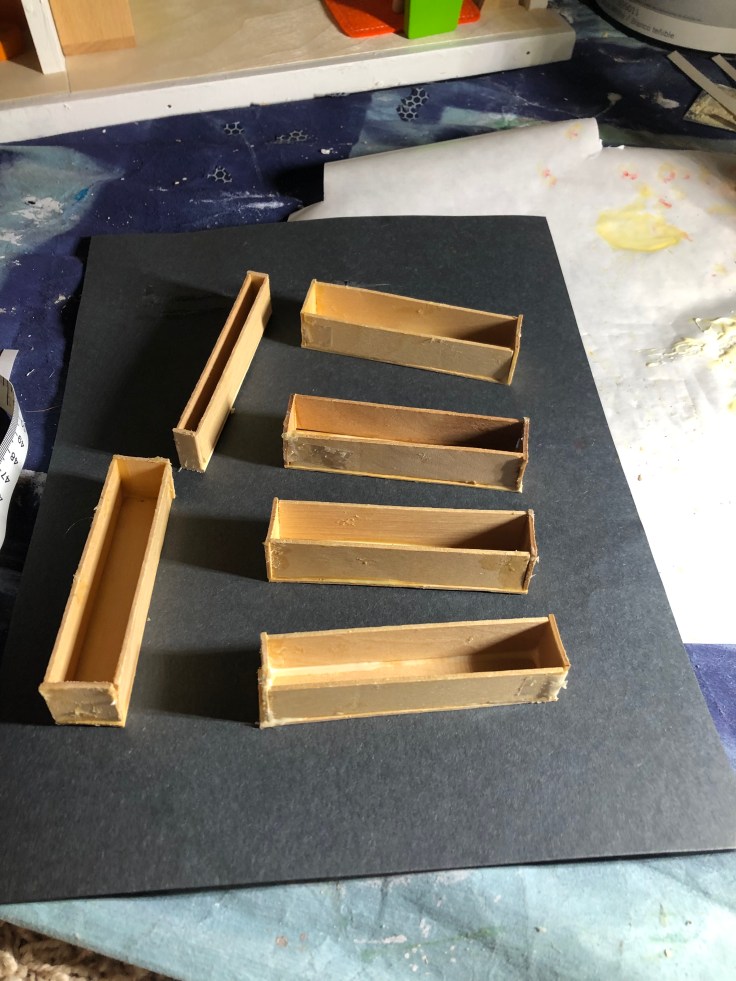
So here is the trick I finally used. I taped the flower boxes into place until the wood glue dried and then peeled off the tape. When I figured this out, it worked much better.
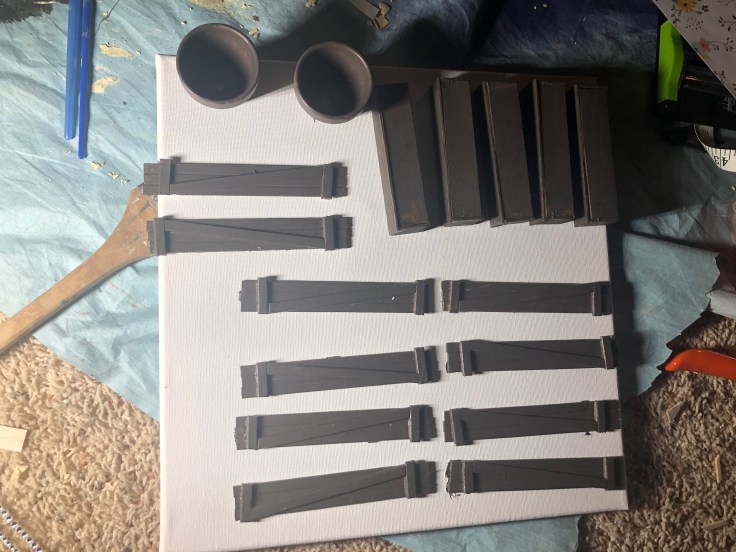
I also made tiny strips out of card stock and glued on diamonds. Then when I painted them with metallic spray paint, it looked like metal brackets on my flower boxes. I was going to stain the flower boxes to match the roof. But when I stained them the stain was not adhering to all the dried wood glue. So it looked bad. So I painted them to match the shutters. Look at the photo below, see how the diamonds look like bolts? I think they turned out great.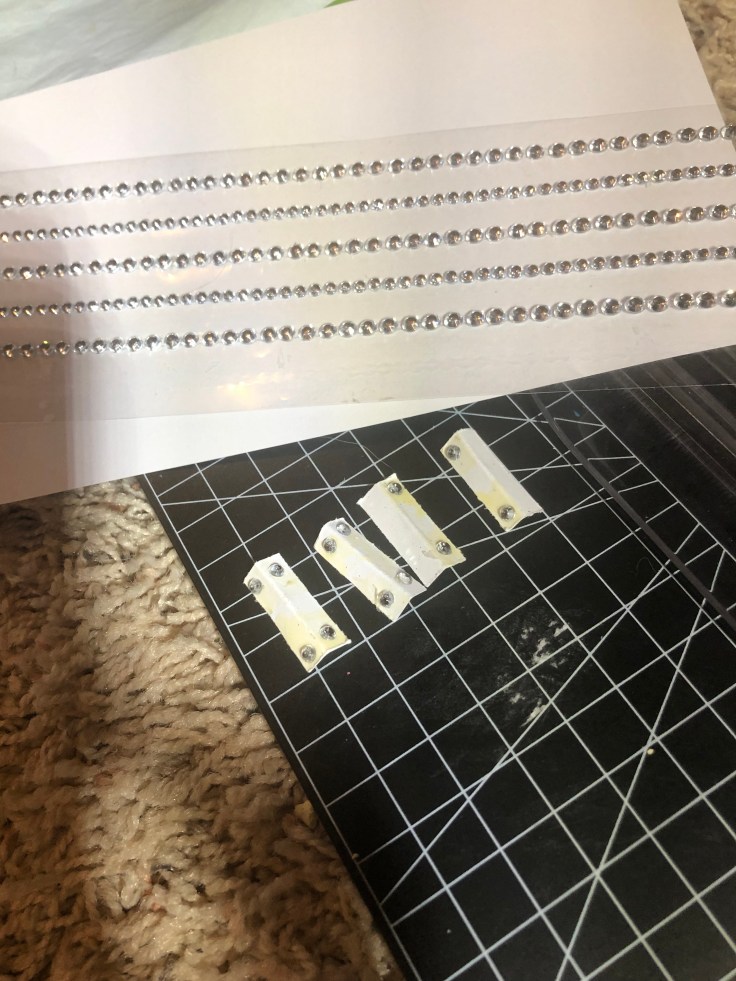
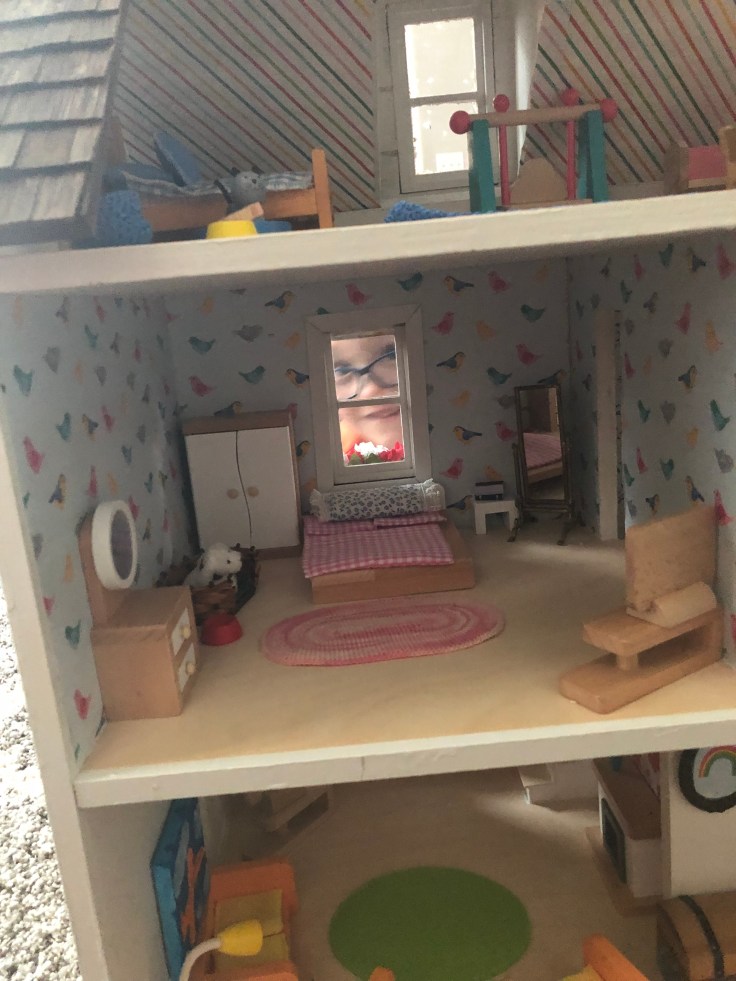
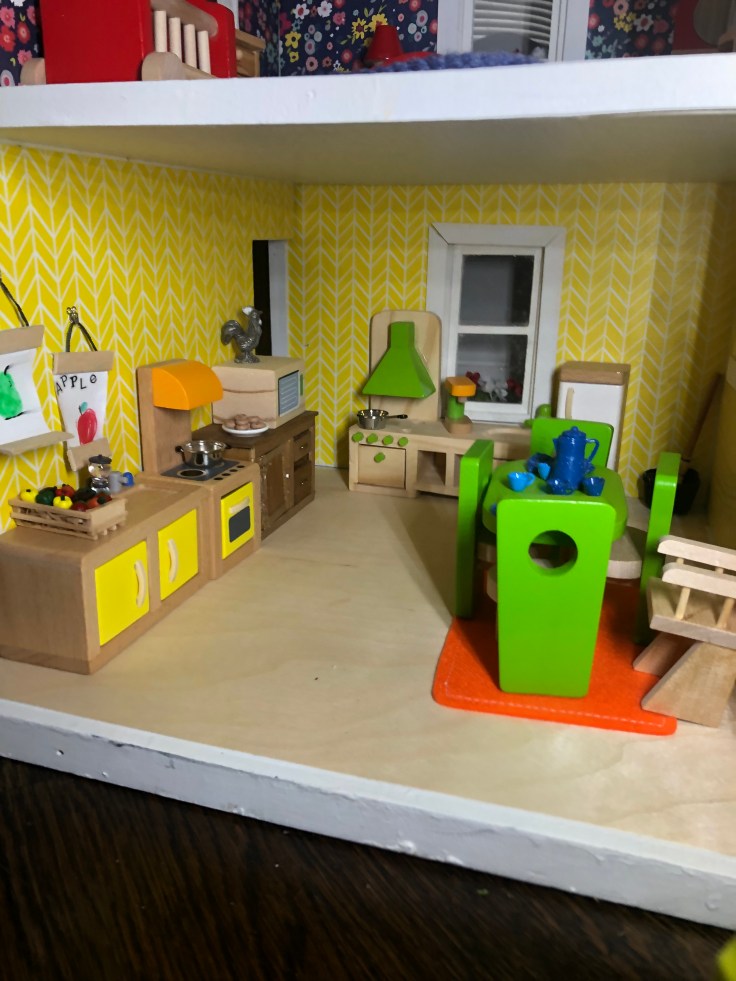
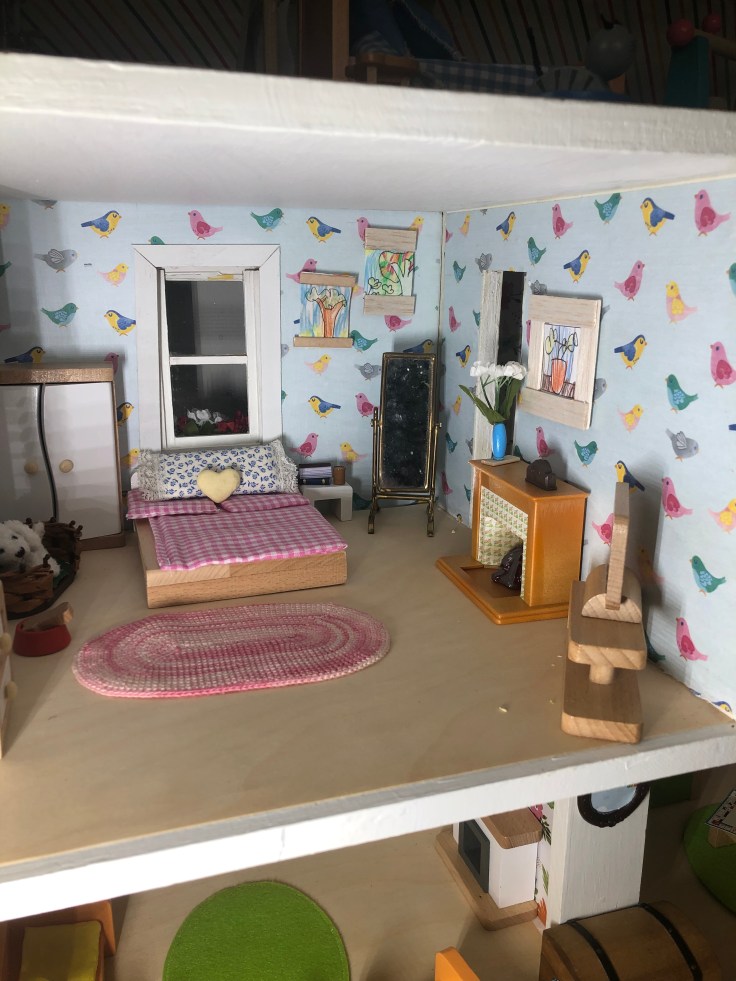
The next step I bounced back to the inside and installed the wall paper. This was simple! I used craft paper and mod Podge. The process was fast, however I HIGHLY recommend you take the back off the house for this step. I also recommend not working with complicated stripe patterns. I don’t like how my stripes turned out.
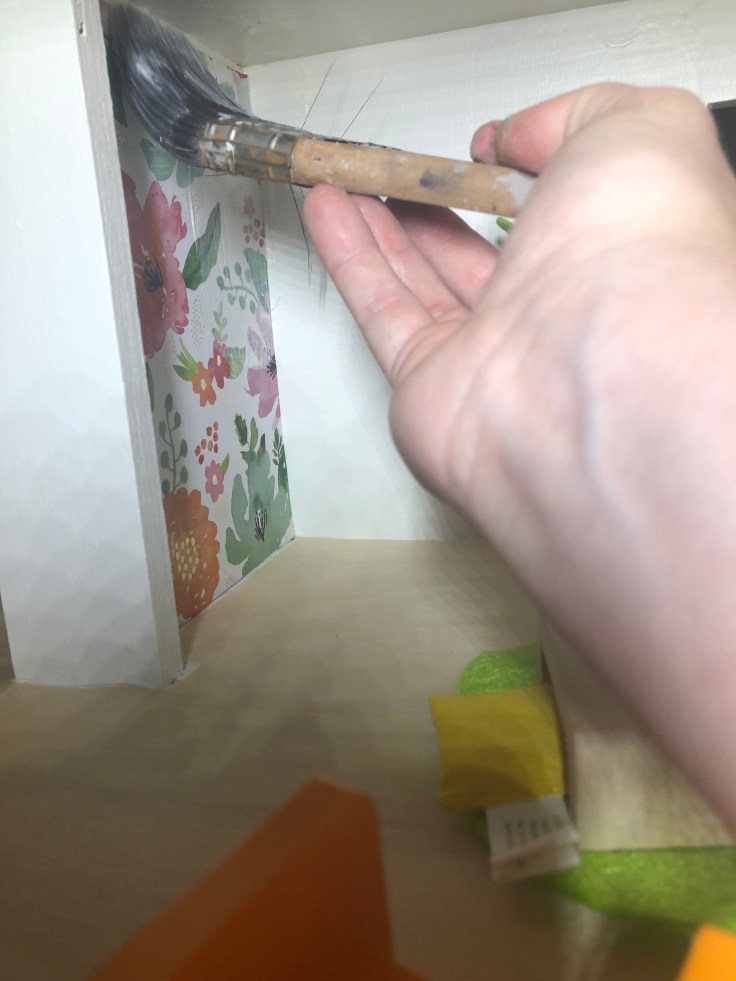
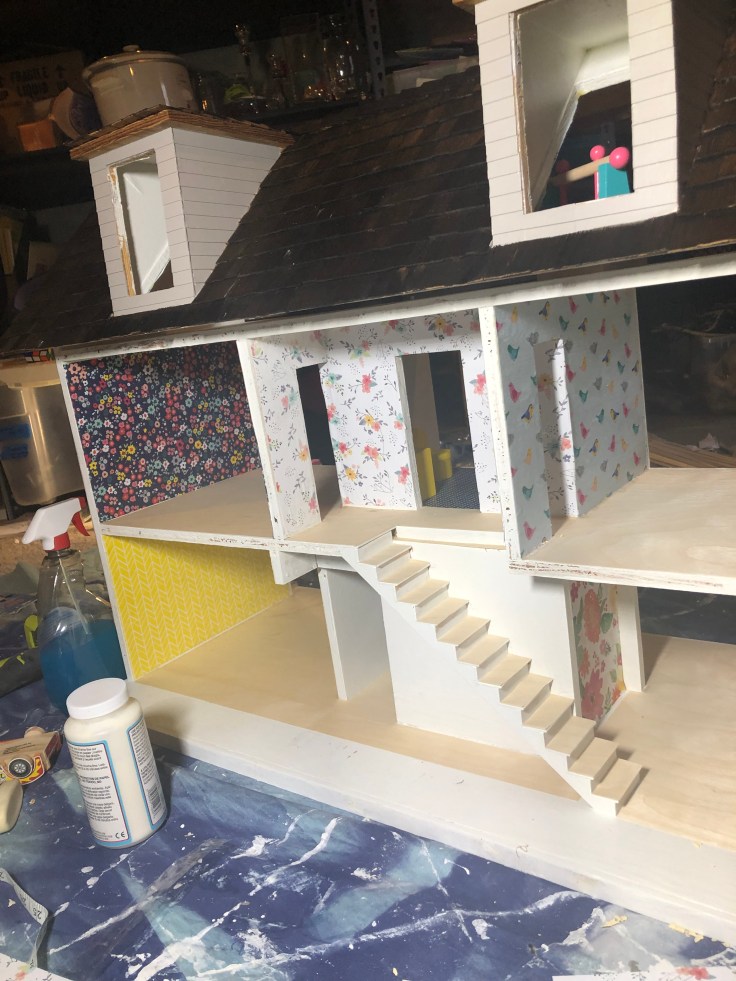
Once the interior was wallpapered I applied the wall paper to the detached back wall. 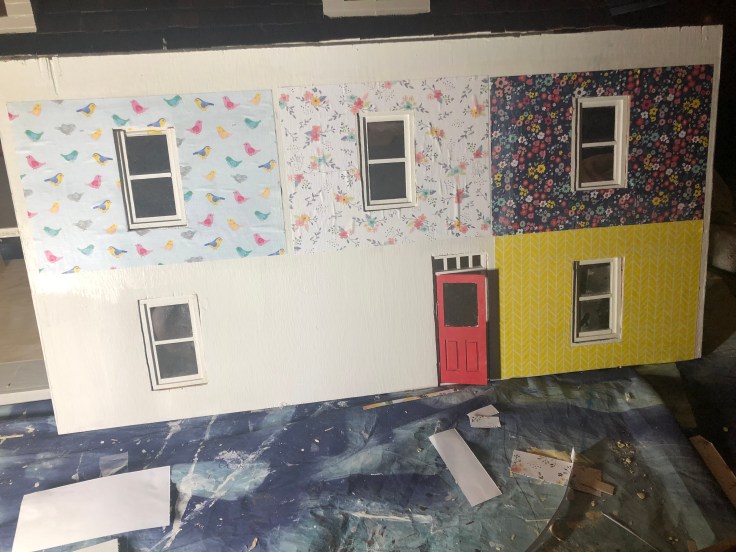
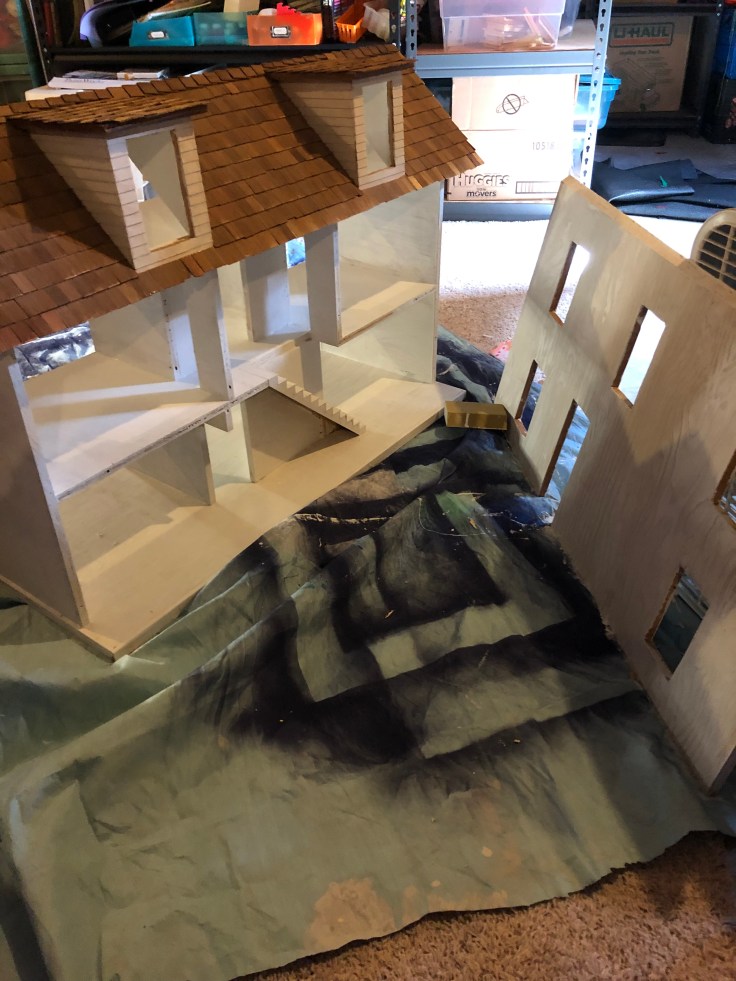
At this point I carefully reattached the front of the house and painted the raw edge of the roof trim black to match the shutters.
Now back to the flower boxes. I stuffed the with black clay and the pressed silk flowers into the clay. I kept having issues with the brackets on the flower boxes falling off. So I hot glued them. I read blogs that warned against hot glue. But honestly it drys fast and worked great. So I went ahead and used the hot glue to attach my window boxes.

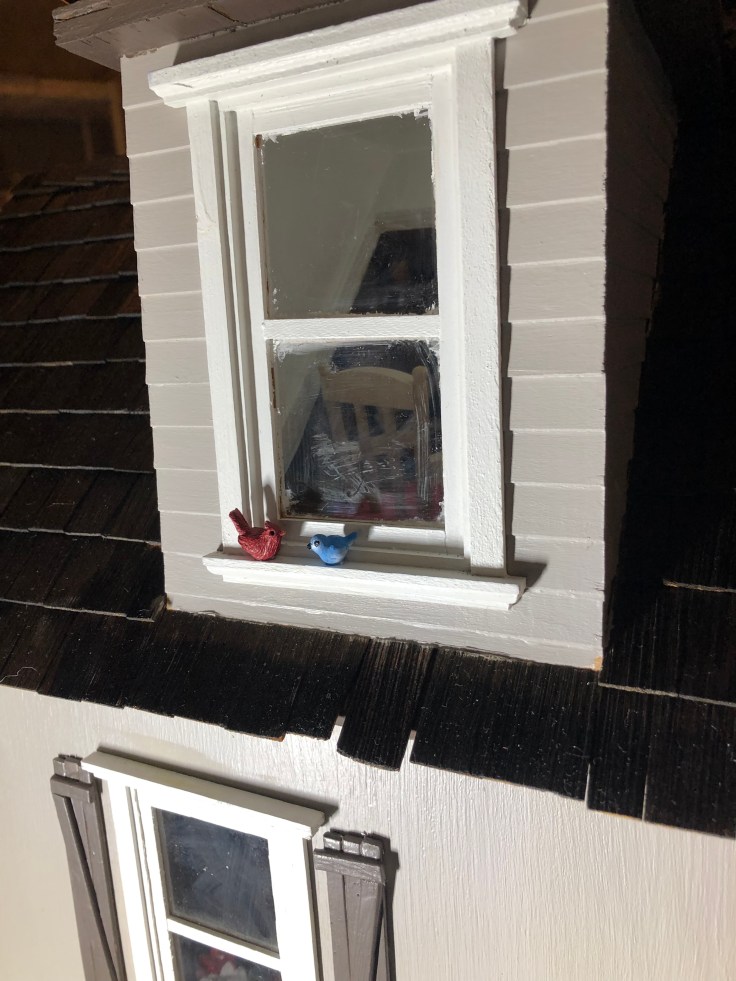
Our family loves to watch birds. We have a big window by our dinning table and we enjoy watch lots of birds. So our house would not be complete without a couple birdy guests.
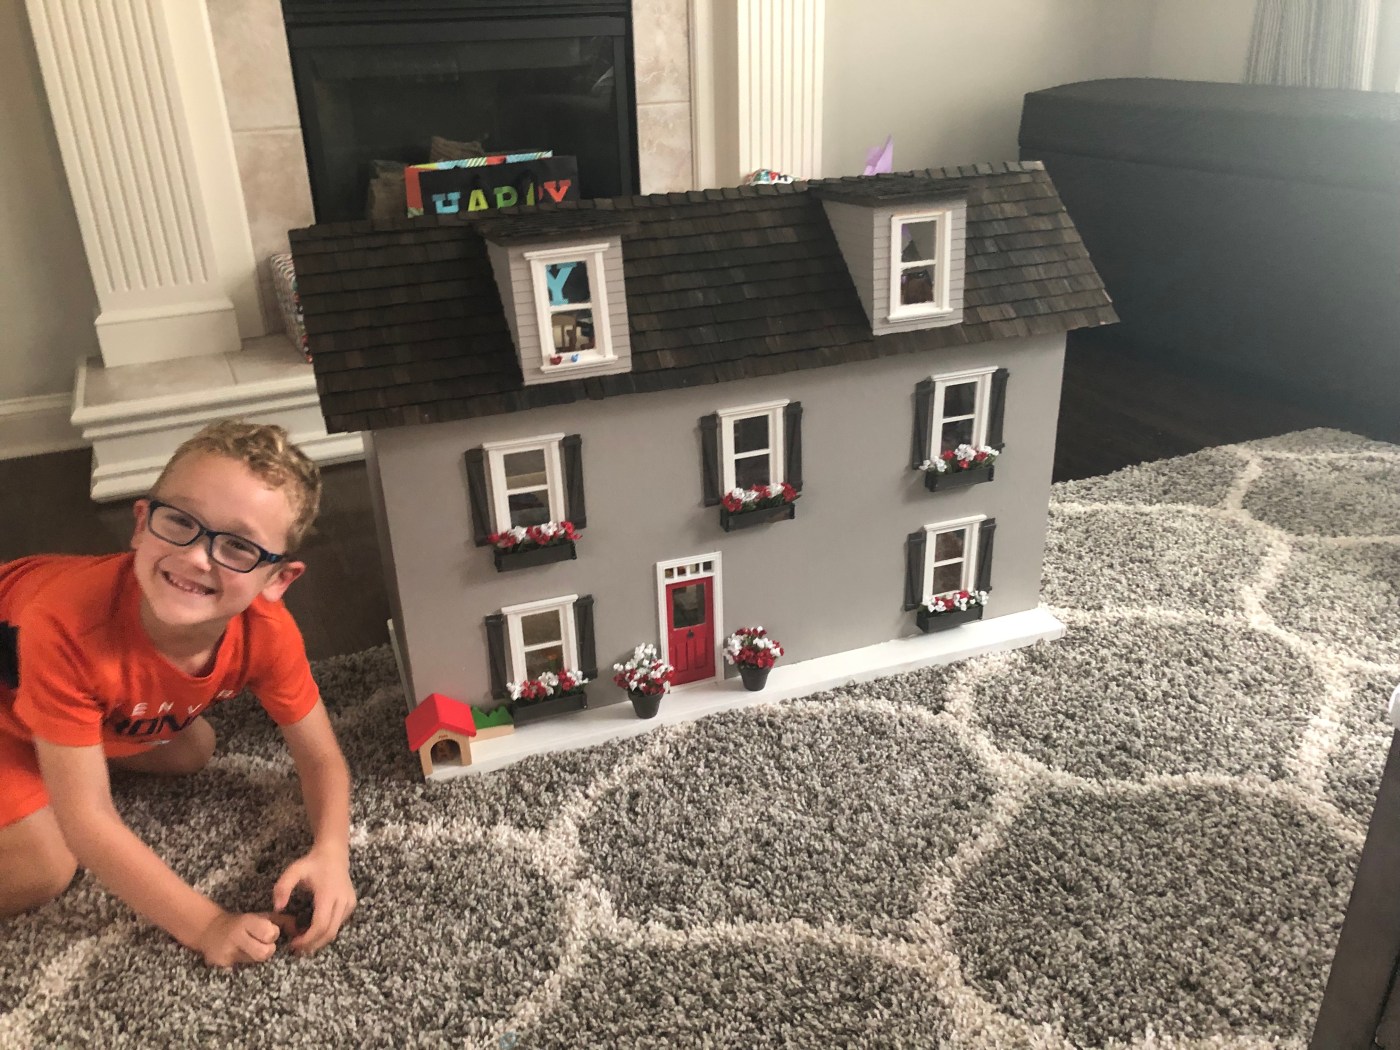
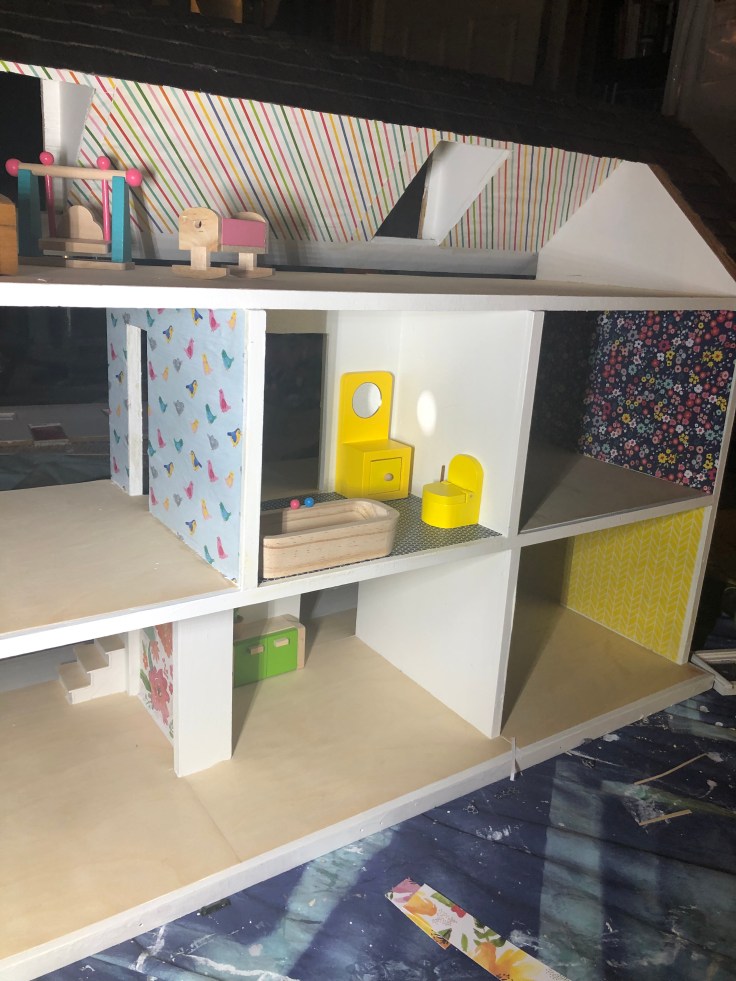
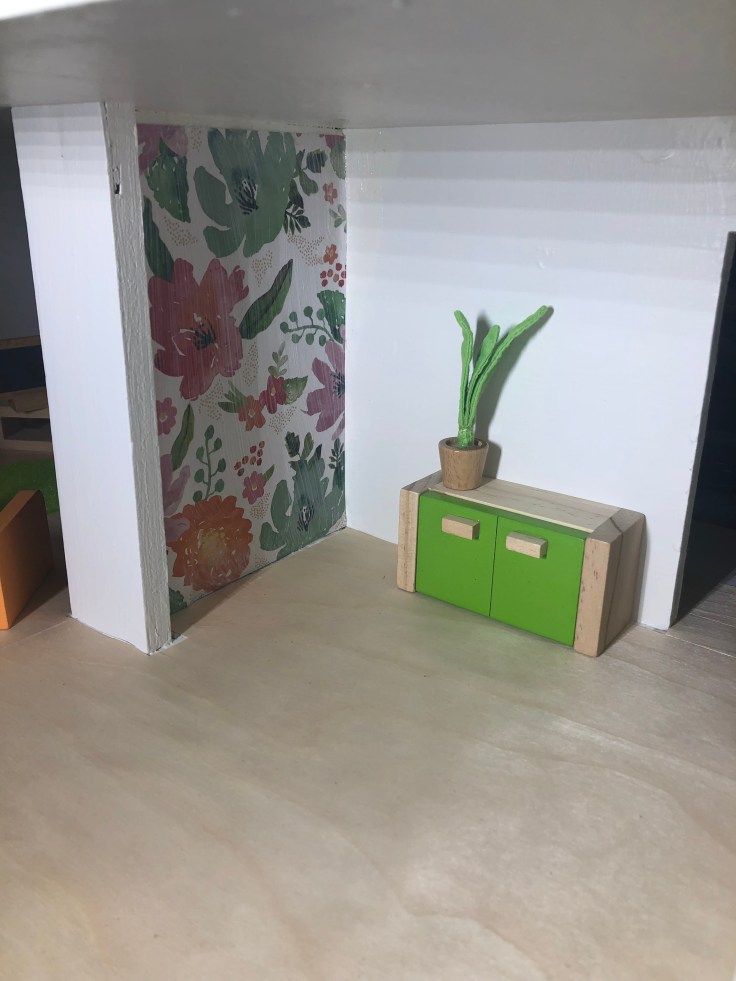
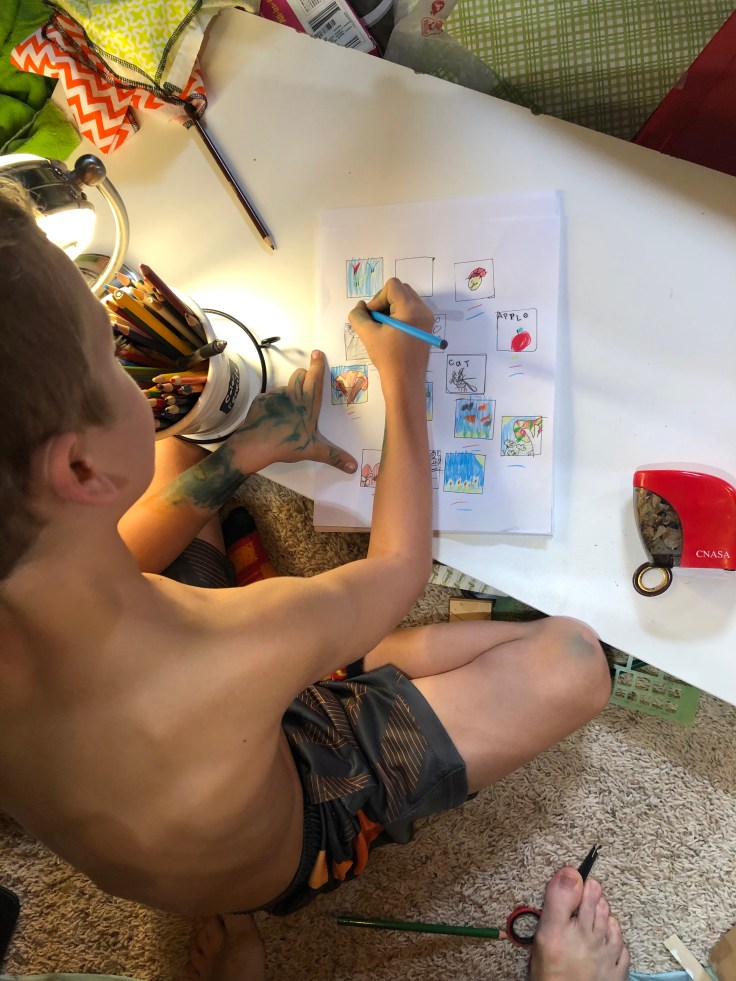
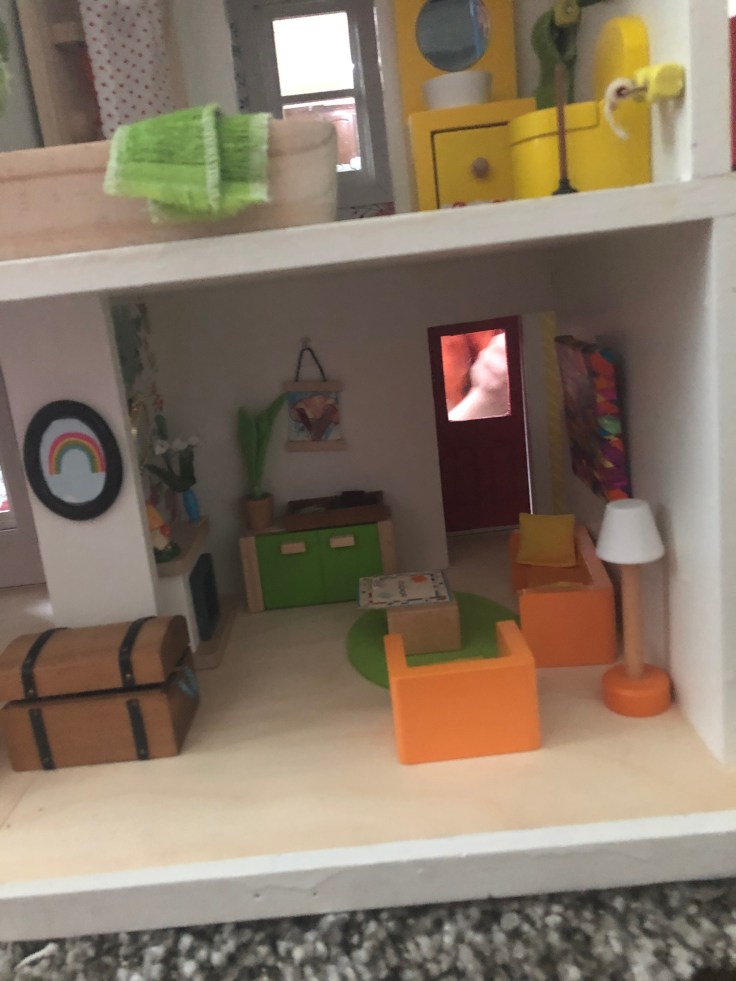
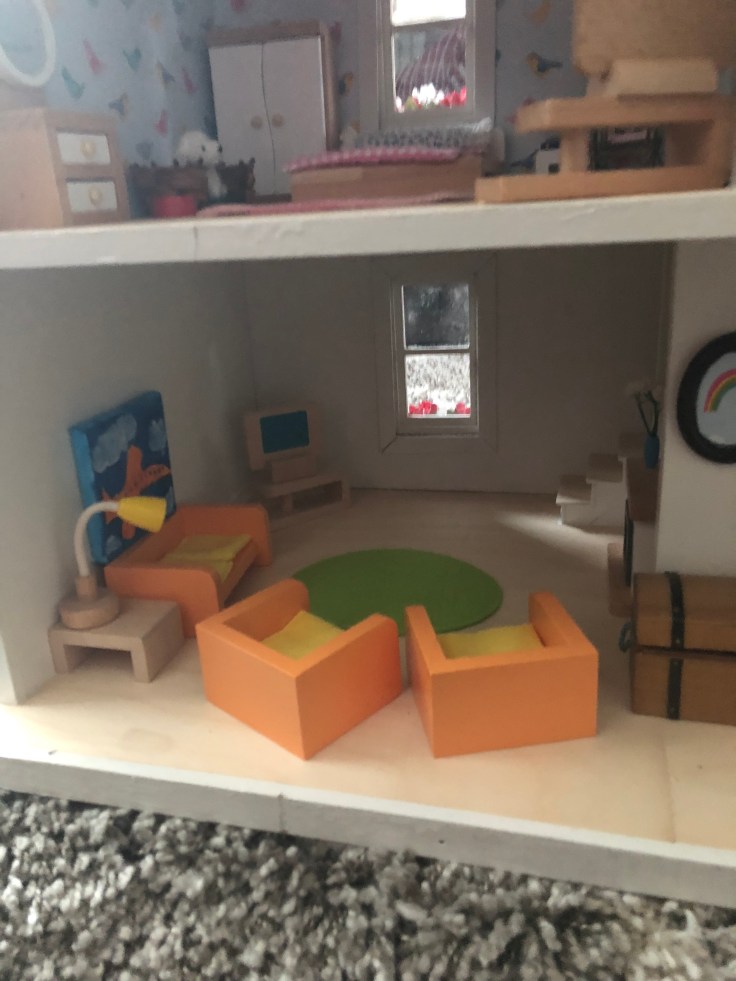
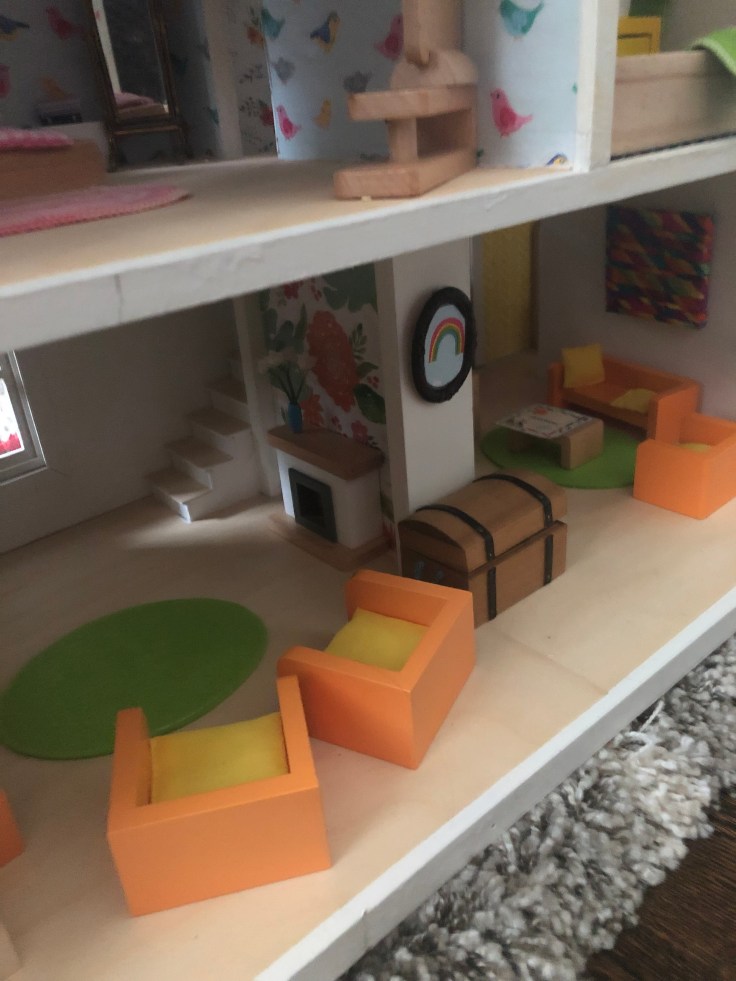
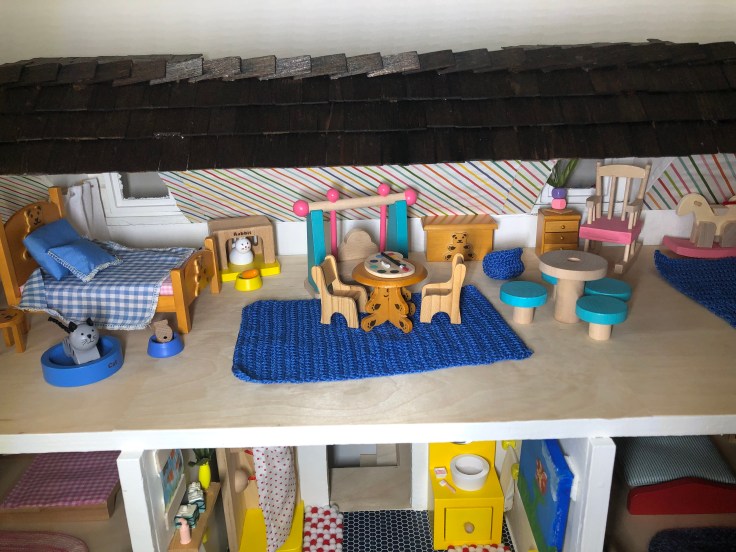
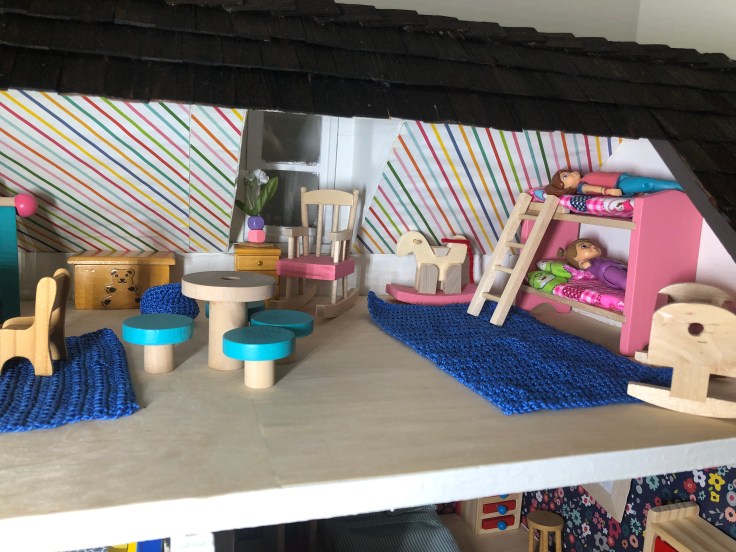
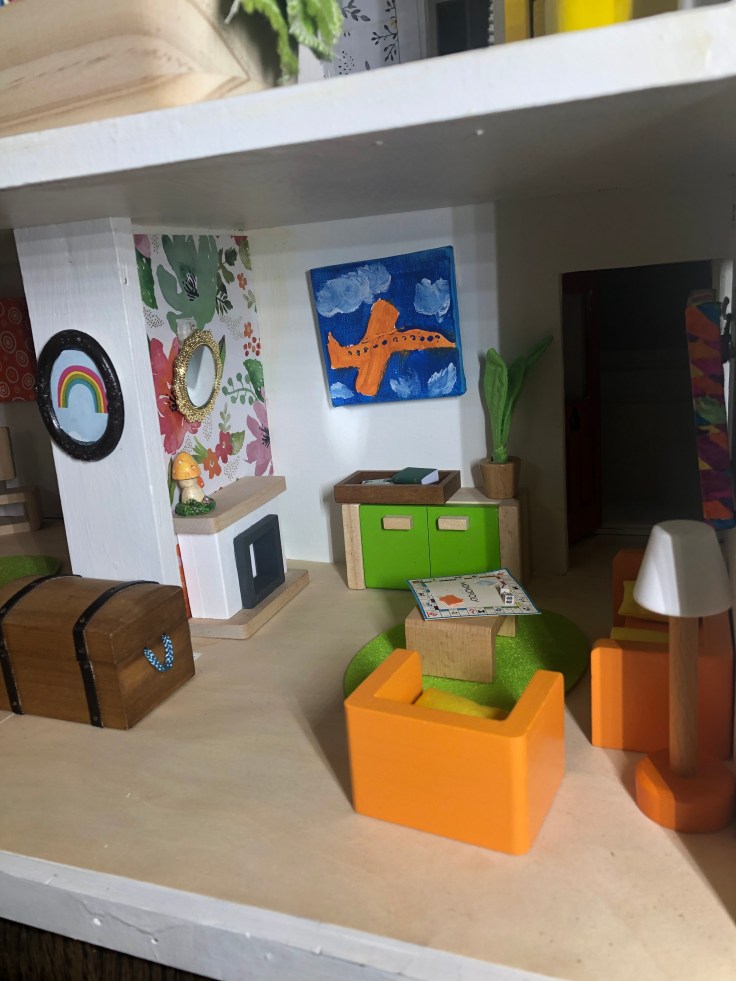
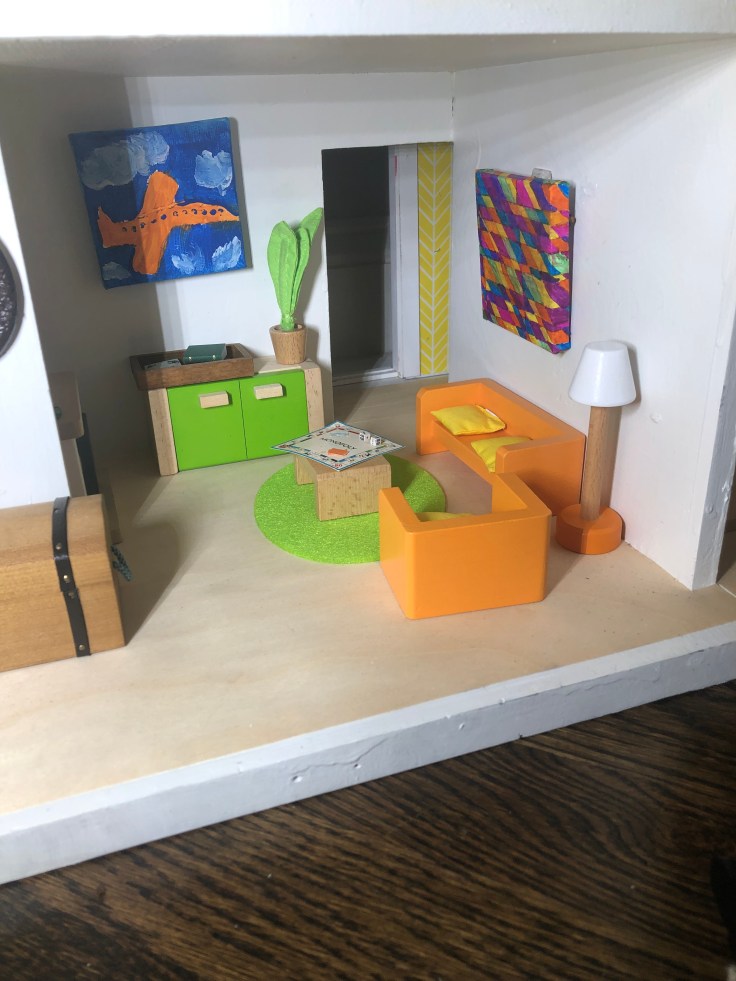
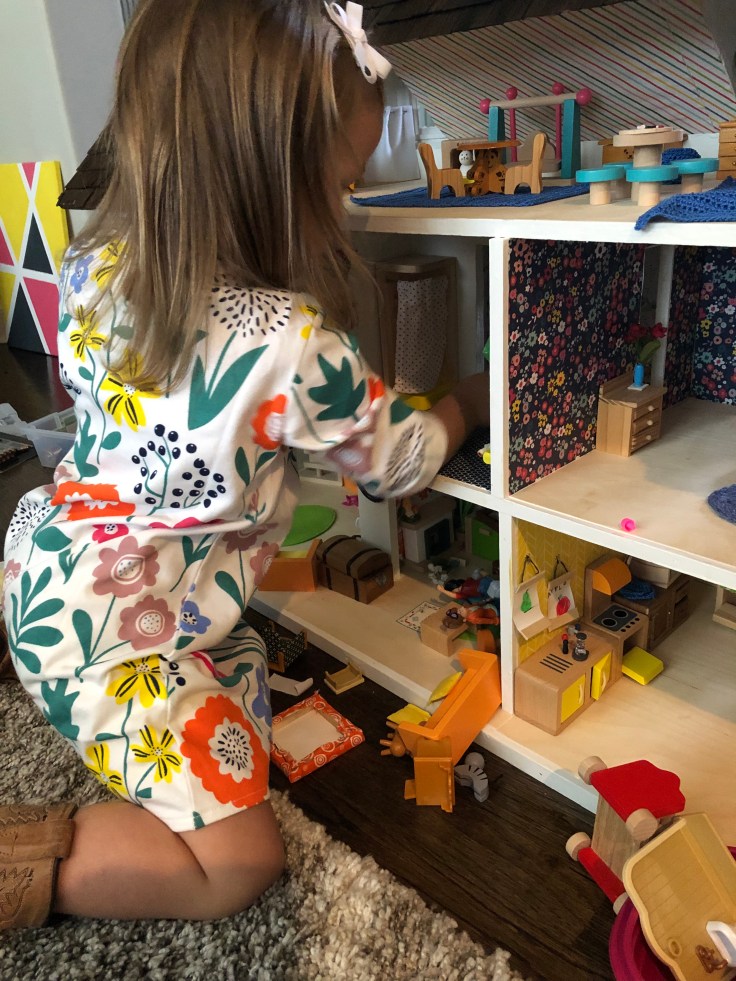
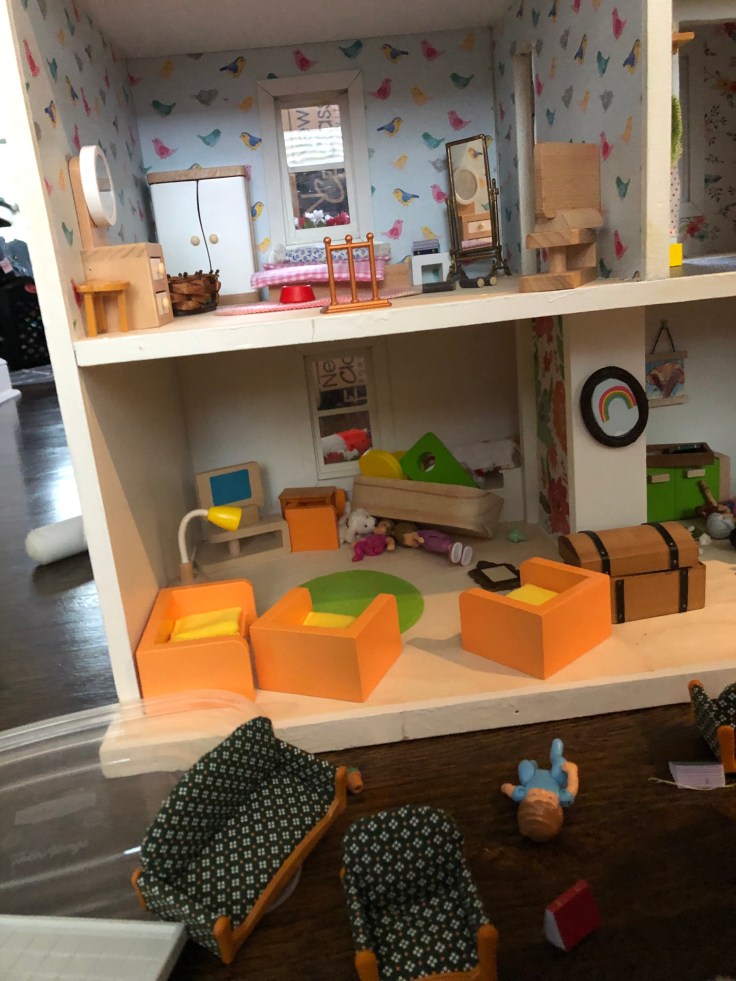
Now for some finishing touches. I moved in the furniture and accessories. And my son and a sweet neighbor helped me with creating artwork.
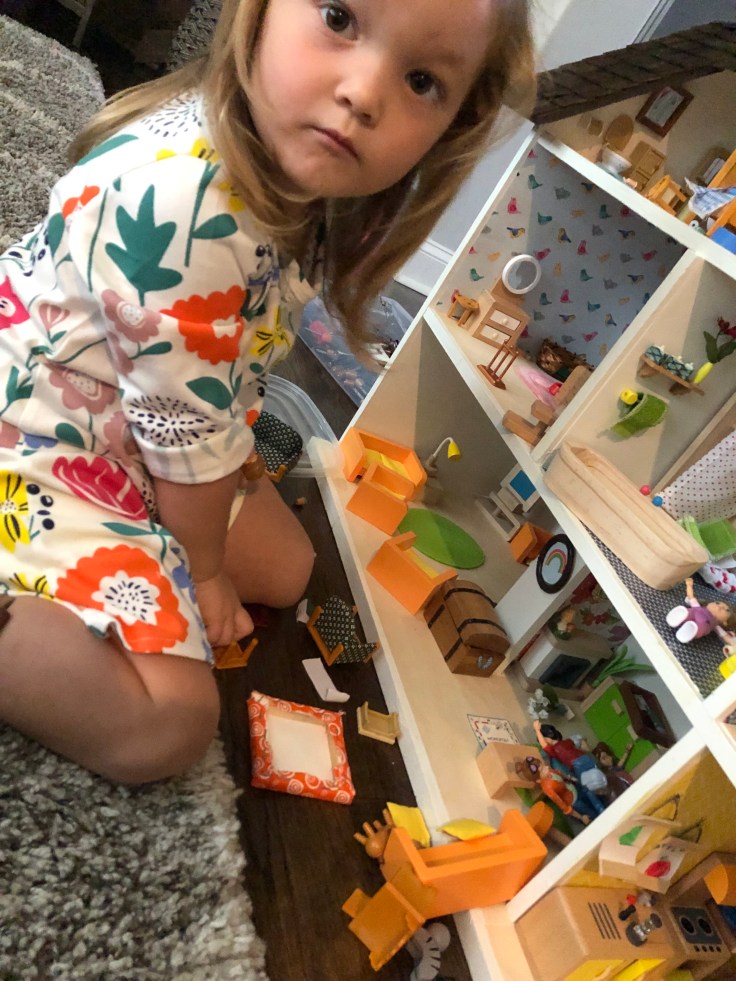
Here is the final result with our furniture moved in. I love seeing my proud son smiling through the windows in these pictures. Such a fun project for both of us.

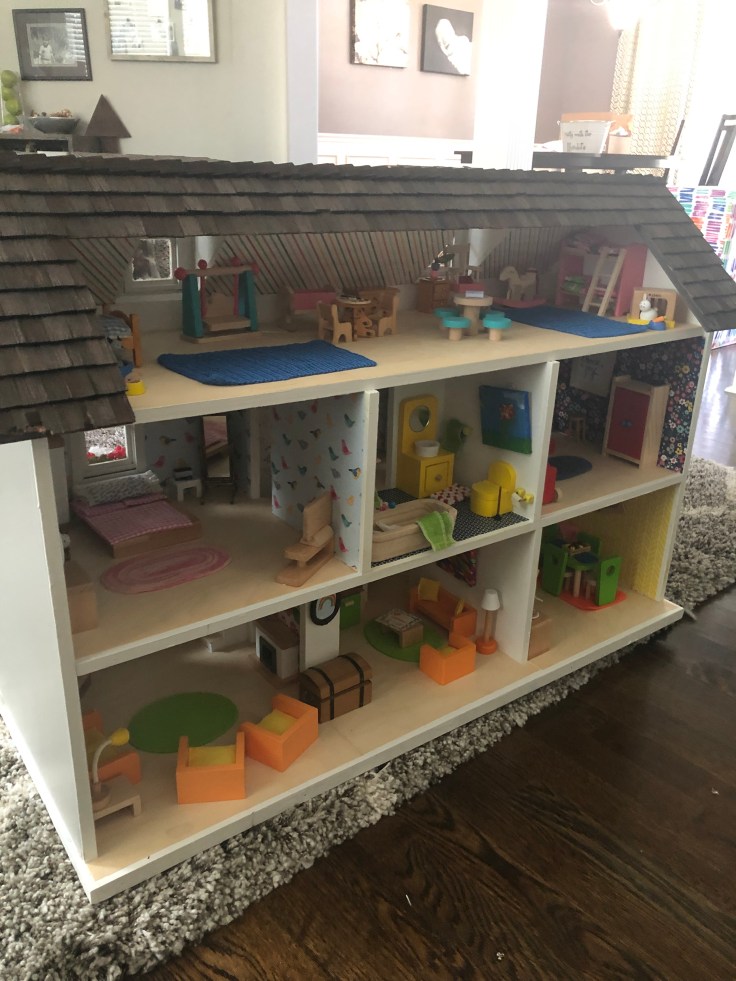
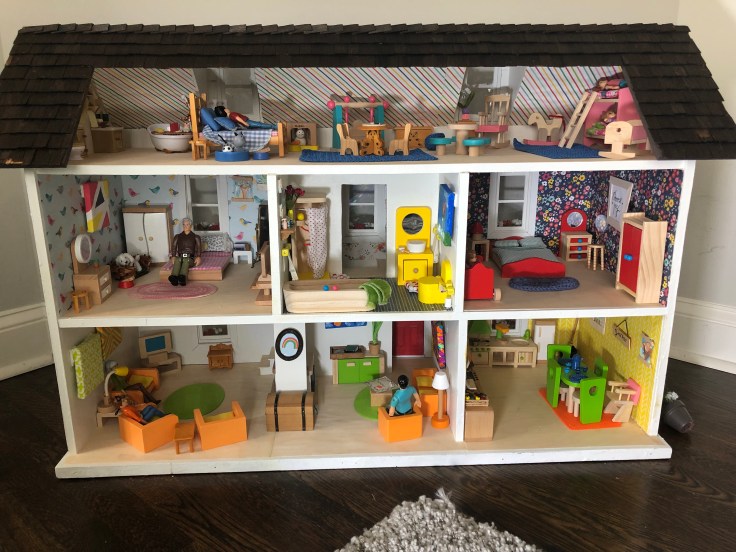


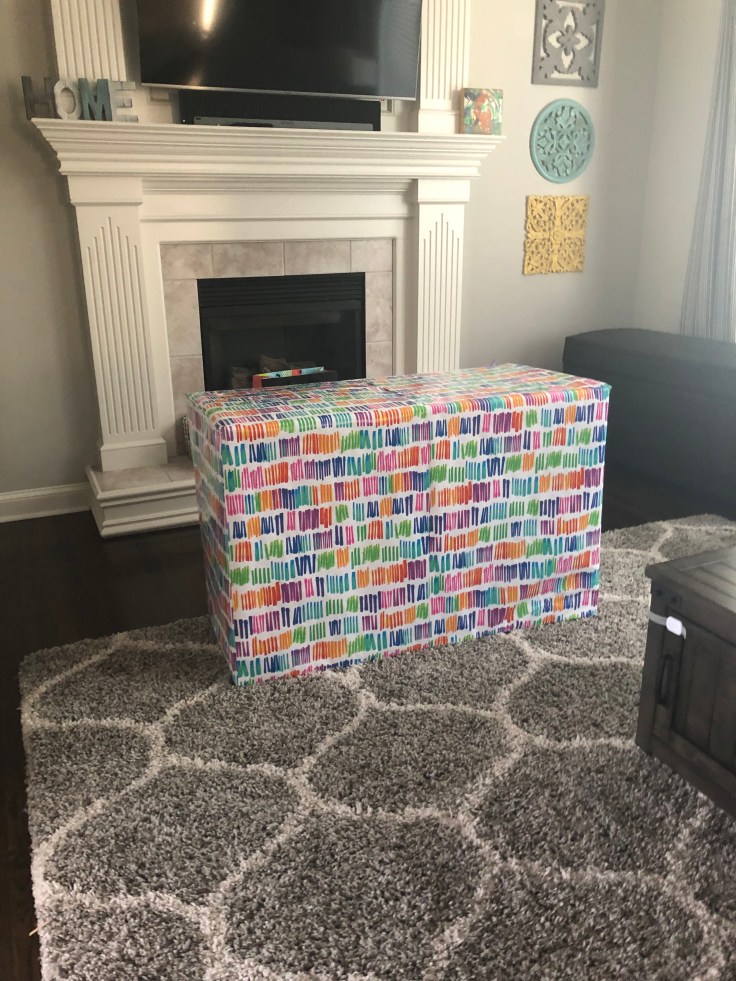
And the reveal.
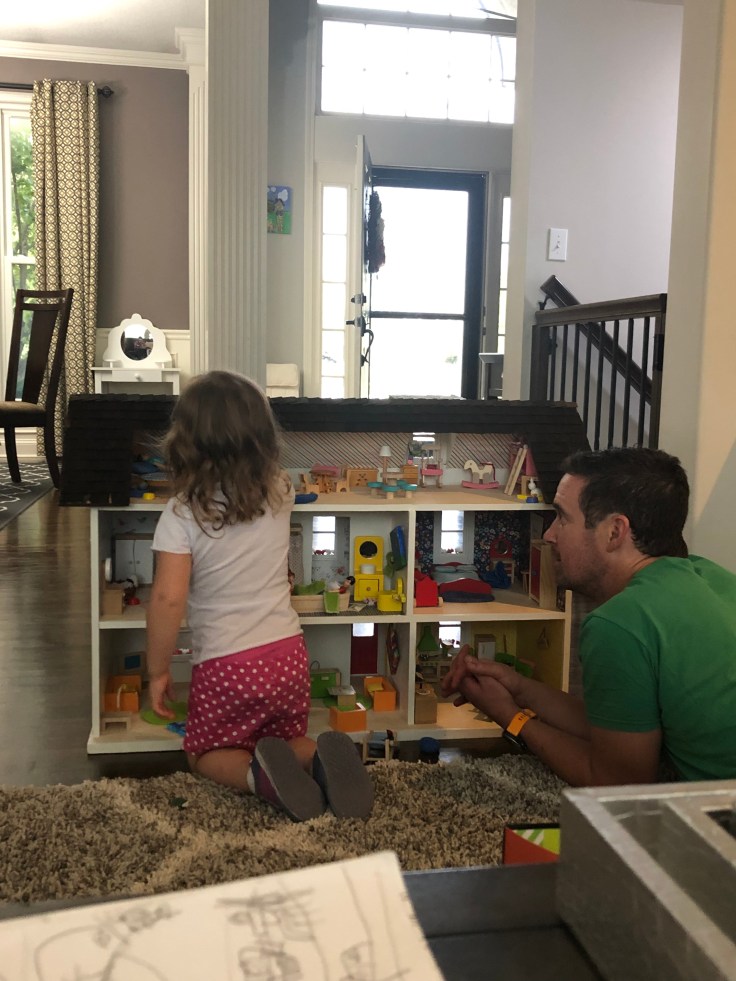
And now I check my OCD at the door. It will never look the same again. But it will be loved and cherished for years.


Leave a comment